Sending Email with Ruby, Rails and Sinatra
To obtain your SMTP credentials you can create a free outbound account with CloudMailin.
Sending mail with Ruby on Rails
Rails provides ActionMailer which uses the mail gem under the hood to send email over SMTP.
Normally to use ActionMailer you'll need to setup your SMTP details in your configuration.
Whilst you could put this information directly in production.yml we like to use an initializer to
create an additional delivery method and then just set a single line in the production.yml config:
# config/initilizers/cloudmailin.rb
ActionMailer::Base.add_delivery_method :cloudmailin, Mail::SMTP,
  address: ENV['CLOUDMAILIN_HOST'],
  port: 587,
  domain: 'yourdomain.com',
  user_name: ENV['CLOUDMAILIN_USERNAME'],
  password: ENV['CLOUDMAILIN_PASSWORD'],
  authentication: 'plain',
  enable_starttls_auto: true

# config/environments/production.yml
config.action_mailer.delivery_method = :cloudmailin

# Default url for mail
 config.action_mailer.default_url_options = { host: 'cloudmailin.com' }
It's also advisable to set the action_mailer.default_url_options so that any email links will have a host
correctly set in the URL.
Using CloudMailin's SMTP URL
You can simplify the above by using the SMTP URL provided by CloudMailin:
The SMTP URL passes you all of the parameters needed to connect to the SMTP server in a single URL. You can set this URL in an environment variable and get up and running quickly.
# Add the config to an initializer config/initializers/cloudmailin.rb
smtp_url = URI.parse(ENV['CLOUDMAILIN_SMTP_URL'])
ActionMailer::Base.add_delivery_method :cloudmailin, Mail::SMTP,
  address: smtp_url.host,
  port: smtp_url.port,
  user_name: smtp_url.user,
  password: smtp_url.password,
  authentication: 'plain',
  enable_starttls_auto: true

# You can then set the delivery method in your environment config
# config/environments/production.rb
config.action_mailer.delivery_method = :cloudmailin
Creating a Mailer
Once you've set your SMTP settings you can make use of the standard ActionMailer to actually
create your email content.
rails generate mailer UserMailer welcome_email

# create  app/mailers/user_mailer.rb
# create  app/mailers/application_mailer.rb
# invoke  erb
# create    app/views/user_mailer
# create    app/views/layouts/mailer.text.erb
# create    app/views/layouts/mailer.html.erb
# create    app/views/user_mailer/welcome_email.text.erb
# create    app/views/user_mailer/welcome_email.html.erb
# invoke  test_unit
# create    test/mailers/user_mailer_test.rb
# create    test/mailers/previews/user_mailer_preview.rb
As you can see this generates a default mailer, views, templates (layouts) and a preview.
As we added the additional argument of welcome_email the generator also created views for that
specific email and a placeholder in the mailer:
# user_mailer.rb
class UserMailer < ApplicationMailer
  default from: -> { 'from@example.com' },

  def welcome_email
    mail(to: params[:user], body: "hello email", content_type: "text/plain",
      subject: "Test Email !")
  end
end

# user_controller.rb
# To queue the message to send outside the controller with active job (recommended)
UserMailer.with(user: 'test@example.com').welcome_email.deliver_later
# To send now
UserMailer.with(user: 'test@example.com').welcome_email.deliver_now
The preview allows you to visit http://localhost:3000/rails/mailers to preview your message content before you send the message. More details can be found in the Rails Guides.
Sending mail with Sinatra and Plain Ruby
Since ActiveMailer is really just a wrapper around the mail gem we can use the mail gem to send
email in Plain Ruby or Sinatra.
mail = Mail.new do
  from     'from@example.com'
  to       'to@example.net'
  subject  'Test Email'
  body     "Test message body"
  add_file :filename => 'logo.png', :content => File.read('/logo.png')
end
Once we've created our email we can send it using Ruby with the following, first we make sure we
set the SMTP settings to send the mail and then we simply call deliver.
mail.delivery_method :smtp,
  address: ENV['CLOUDMAILIN_HOST'],
  port: 587,
  domain: 'yourdomain.com',
  user_name: ENV['CLOUDMAILIN_USERNAME'],
  password: ENV['CLOUDMAILIN_PASSWORD'],
  authentication: 'plain',
  enable_starttls_auto: true

mail.deliver
Summary
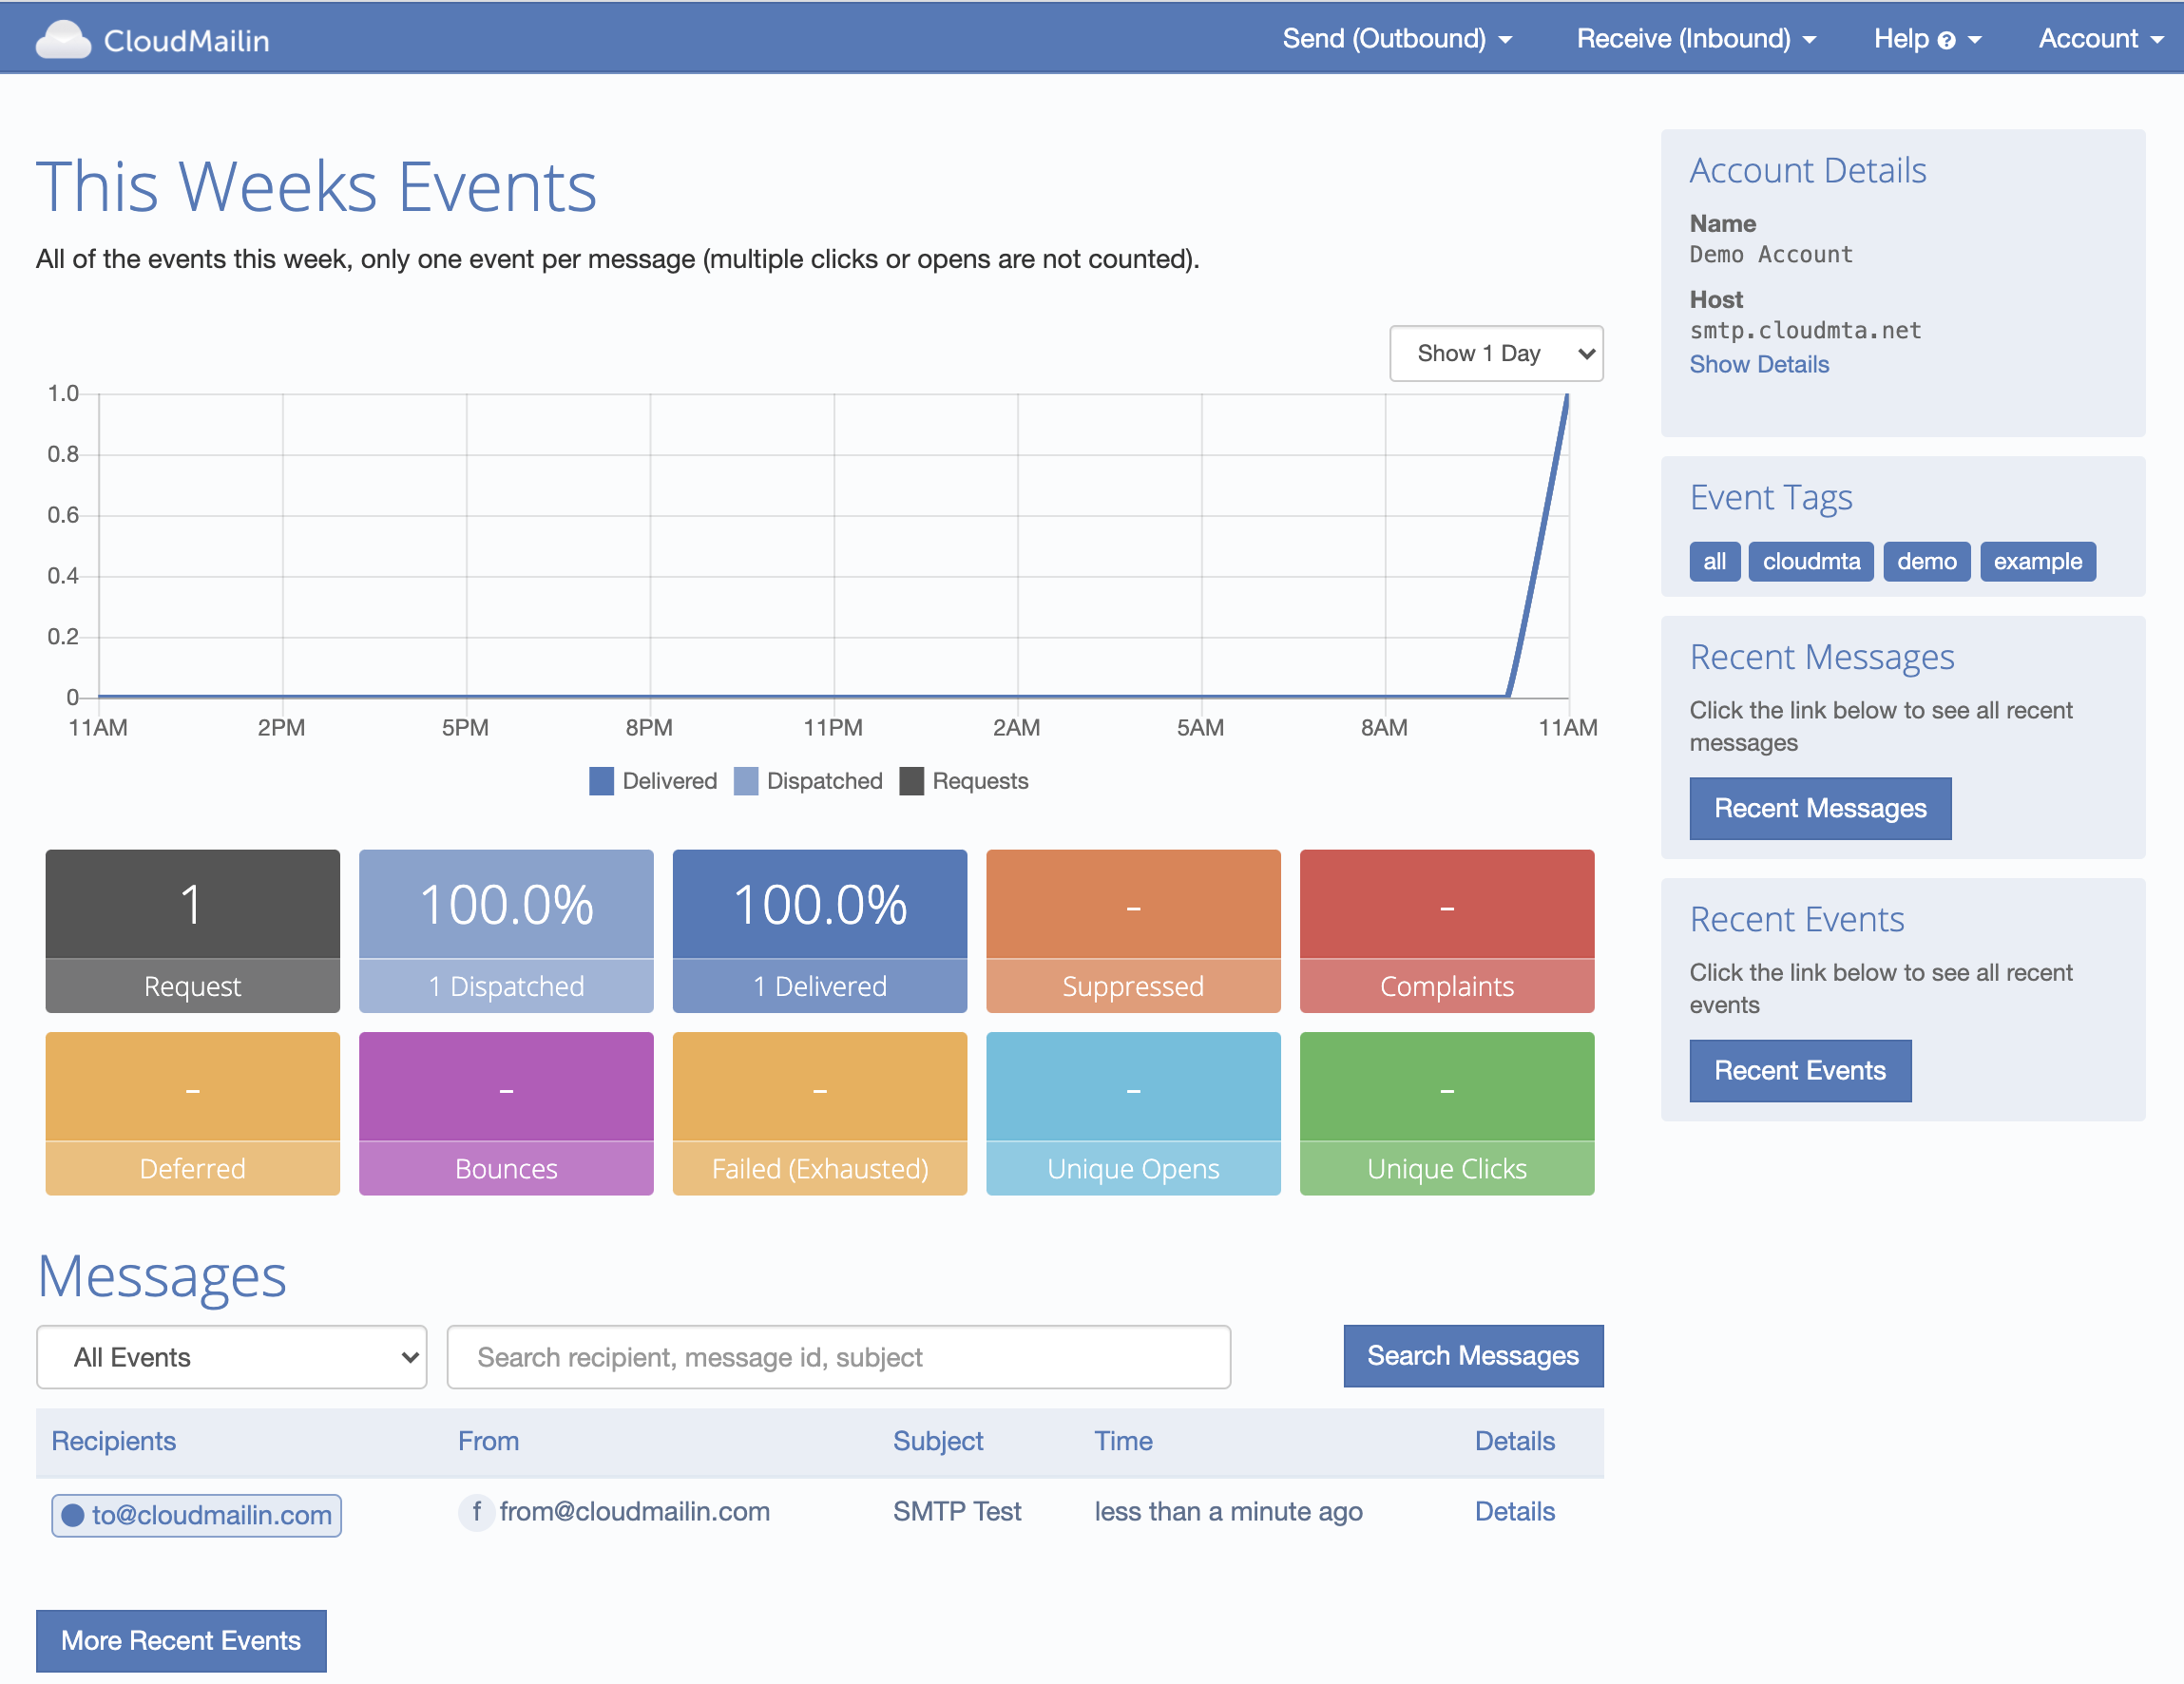
We should now have received a message in our inbox. Using CloudMailin we can also track the status
of each of our emails and see the delivery details. Any tags you've added as a x-cloudmta-tags
header can be used to filter the email messages and search.
If you need any SMTP credentials you can create an account for free and get your SMTP credentials on the outbound account page.
Make sure you changed the from address to match your verified domain and set a recipient
The SMTP transaction will reply with the message-id of the message to use for bounce tracking if required.
250 Thanks! Queued as: f78b876d-dd97-4e10-9a61-067f98044cc7
Of course if there are any questions feel free to contact us and we'll do our best to help you get setup sending email.