Sending Email with Node.js, Typescript and Express
To obtain your SMTP credentials you can create a free outbound account with CloudMailin.
Sending mail via the API
To send email via our API in Typescript or Node.js you can download the CloudMailin NPM package.
npm install --save cloudmailin
Once the package is installed we just need to create a message client and send the message. More details can be found on the Message API page.
import { MessageClient } from "cloudmailin"

const client = new MessageClient({ username: USERNAME, apiKey: API_KEY});
const response = await client.sendMessage({
  to: 'test@example.net',
  from: 'test@example.com',
  plain: 'test message',
  html:  '<h1>Test Message</h1>',
  subject: "hello world"
});
const cloudmailin = require("cloudmailin")

const client = new MessageClient({ username: USERNAME, apiKey: API_KEY});
const response = await client.sendMessage({
  to: 'test@example.net',
  from: 'test@example.com',
  plain: 'test message',
  html:  '<h1>Test Message</h1>',
  subject: "hello world"
});
Sending mail with Node via SMTP
These examples are for sending email with Node.js / Typescript via SMTP To send via API please checkout Sending via the API
To send email in Node we'll use nodemailer, a thirdparty library for email in Node JS.
npm install nodemailer
Once we've added nodemailer to our node.js app we can use the following to setup the SMTP transport:
"use strict";
const nodemailer = require("nodemailer");

async function main() {
  let hostname = "hostname from account page";
  let username = "username from account page";
  let password = "password from account page";

  let transporter = nodemailer.createTransport({
    host: hostname,
    port: 587,
    secure: false,
    requireTLS: true,
    auth: {
      user: username,
      pass: password,
    },
    logger: true
  });
In order to make sure that nodemailer calls STARTTLS we need to set secure: false and
requireTLS: true this means that we open the connection in Plain text and immediatly upgrade to
a more secure TLS connection.
We've also set the hostname and port and enabled the logger to help debugging.
Sending the email
Once we've created our SMTP transport we can actually send an email from our node application using the following:
  // send mail with defined transport object
  let info = await transporter.sendMail({
    from: '"Sender Name" <from@cloudmta.com>',
    to: "to@example.com",
    subject: "Hello from node",
    text: "Hello world?",
    html: "<strong>Hello world?</strong>",
    headers: { 'x-cloudmta-class': 'standard' }
  });

  console.log("Message sent: %s", info.response);
}

main().catch(console.error);
The above code constructs an email with both a plain and html part and sets the subject.
Additional headers can be set using the headers parameter, which we use here to set
x-cloudmta-class to standard.
This code prints the SMTP response (the output from the call) to the console once finished.
Sending mail with express
Express mailer is a popular SMTP mailer for express based on nodemailer. This allows us to
send email using nodemailer from directly within an express app.
npm install express-mailer
Once express-mailer is installed for our express app we can set the default mailer like this:
// Add SMTP credentials to app.js
var app = require('express')(),
    mailer = require('express-mailer');

let hostname = "hostname from account page";
let username = "username from account page";
let password = "password from account page";

mailer.extend(app, {
  from: 'from@example.com',
  host: hostname,
  port: 587,
  secure: false,
  requireTLS: true,
  auth: {
    user: username,
    pass: password,
  }
});
Express mailer expects app.mailer.send(template, locals, callback) we can therefore send email
using the following:
app.get('/', function (req, res, next) {
  app.mailer.send('email', {
    to: 'to@example.com',
    subject: 'Test from express',
    otherProperty: 'Other Property' // All additional properties are also passed to the template as local variables.
  }, function (err) {
    if (err) {
      // handle error
      console.log(err);
      res.send('There was an error sending the email');
      return;
    }
    res.send('Email Sent');
  });
});
Mailer view use the same render process as express and therefore the first argument ('email') above is the template used for rendering the email.
Summary
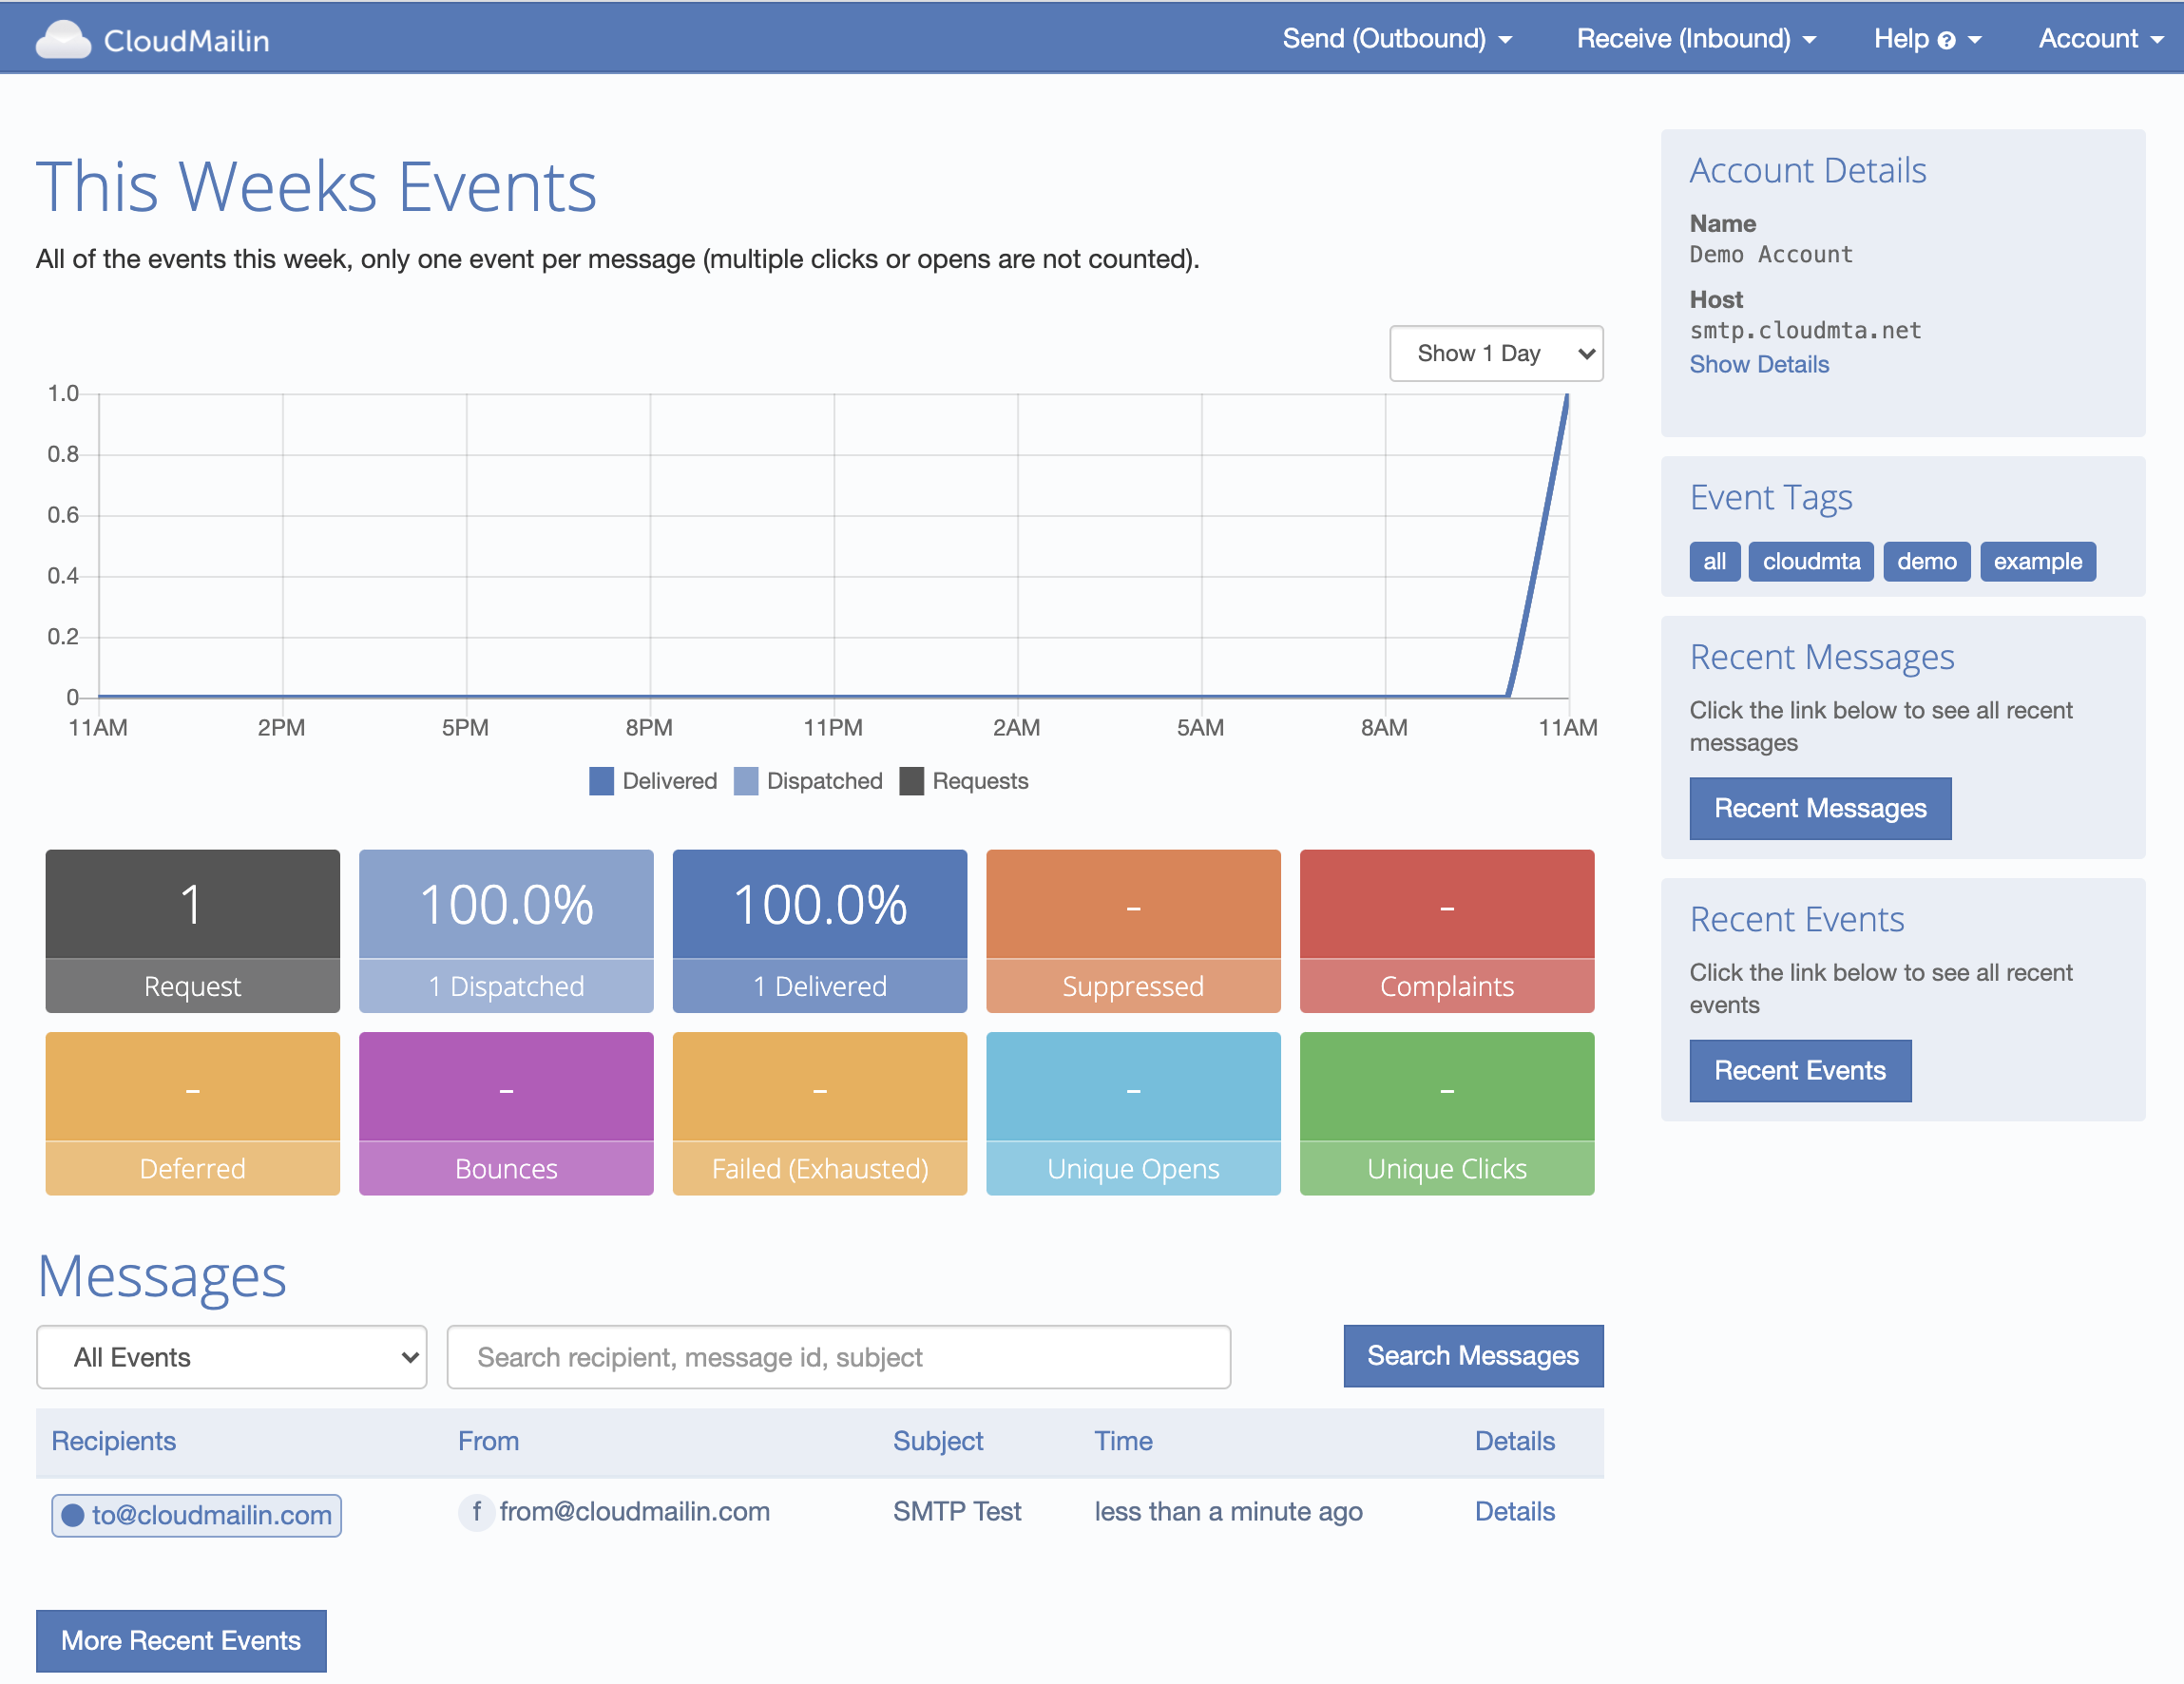
We should now have received a message in our inbox. Using CloudMailin we can also track the status
of each of our emails and see the delivery details. Any tags you've added as a x-cloudmta-tags
header can be used to filter the email messages and search.
If you need any SMTP credentials you can create an account for free and get your SMTP credentials on the outbound account page.
Make sure you changed the from address to match your verified domain and set a recipient
The SMTP transaction will reply with the message-id of the message to use for bounce tracking if required.
250 Thanks! Queued as: f78b876d-dd97-4e10-9a61-067f98044cc7
Of course if there are any questions feel free to contact us and we'll do our best to help you get setup sending email.