Store Email Attachments in AWS S3, Azure Blob Storage, or Google Cloud Storage
In order to save overhead on your HTTP server CloudMailin can transfer your attachments directly to Amazon Web Services (AWS) S3, Microsoft Azure Blob Storage or Google Cloud Storage.
CloudMailin allows sending email attachments to:
Why send email attachments to Cloud Storage?
When a large attachment, or multiple attachments, are included within an email message the amount of data sent to the target website can become quite large. The overhead can become even larger because emails are often encoded using Base64 for binary content such as images.
This can lead to considerable transfer and processing time on your web server and can often result in timeouts or unreachable errors as the server cannot cope with receiving that amount of data. In addition, this overhead can prevent other requests from reaching the server.
It's also common for HTTP such as Nginx or Apache to prevent sending large HTTP
POSTs (over 1MB by default in Nginx) with a 413: Request Entity Too Large
error.
CloudMailin has the ability to extract the attachments from your email and deliver them to Amazon Web Service's (AWS) S3, Microsoft Azure Blob Storage or Google Cloud Storage. This means that your web server only receives the HTTP data that it needs to. Instead pass the URL of the attachments that were extracted from the email.
How can I send Email Attachments to AWS S3
It is possible to configure CloudMailin to stream message attachments to Amazon's S3 as an email is received. This can help reduce the overhead on the end server and allow you to easily save away the attachments sent by your customers. In order to set up S3 attachments:
Grant permission to send email attachments to your S3 Bucket
There are several ways that you can grant permission for CloudMailin to create files in your S3 Bucket. The simplest is to use the AWS website.
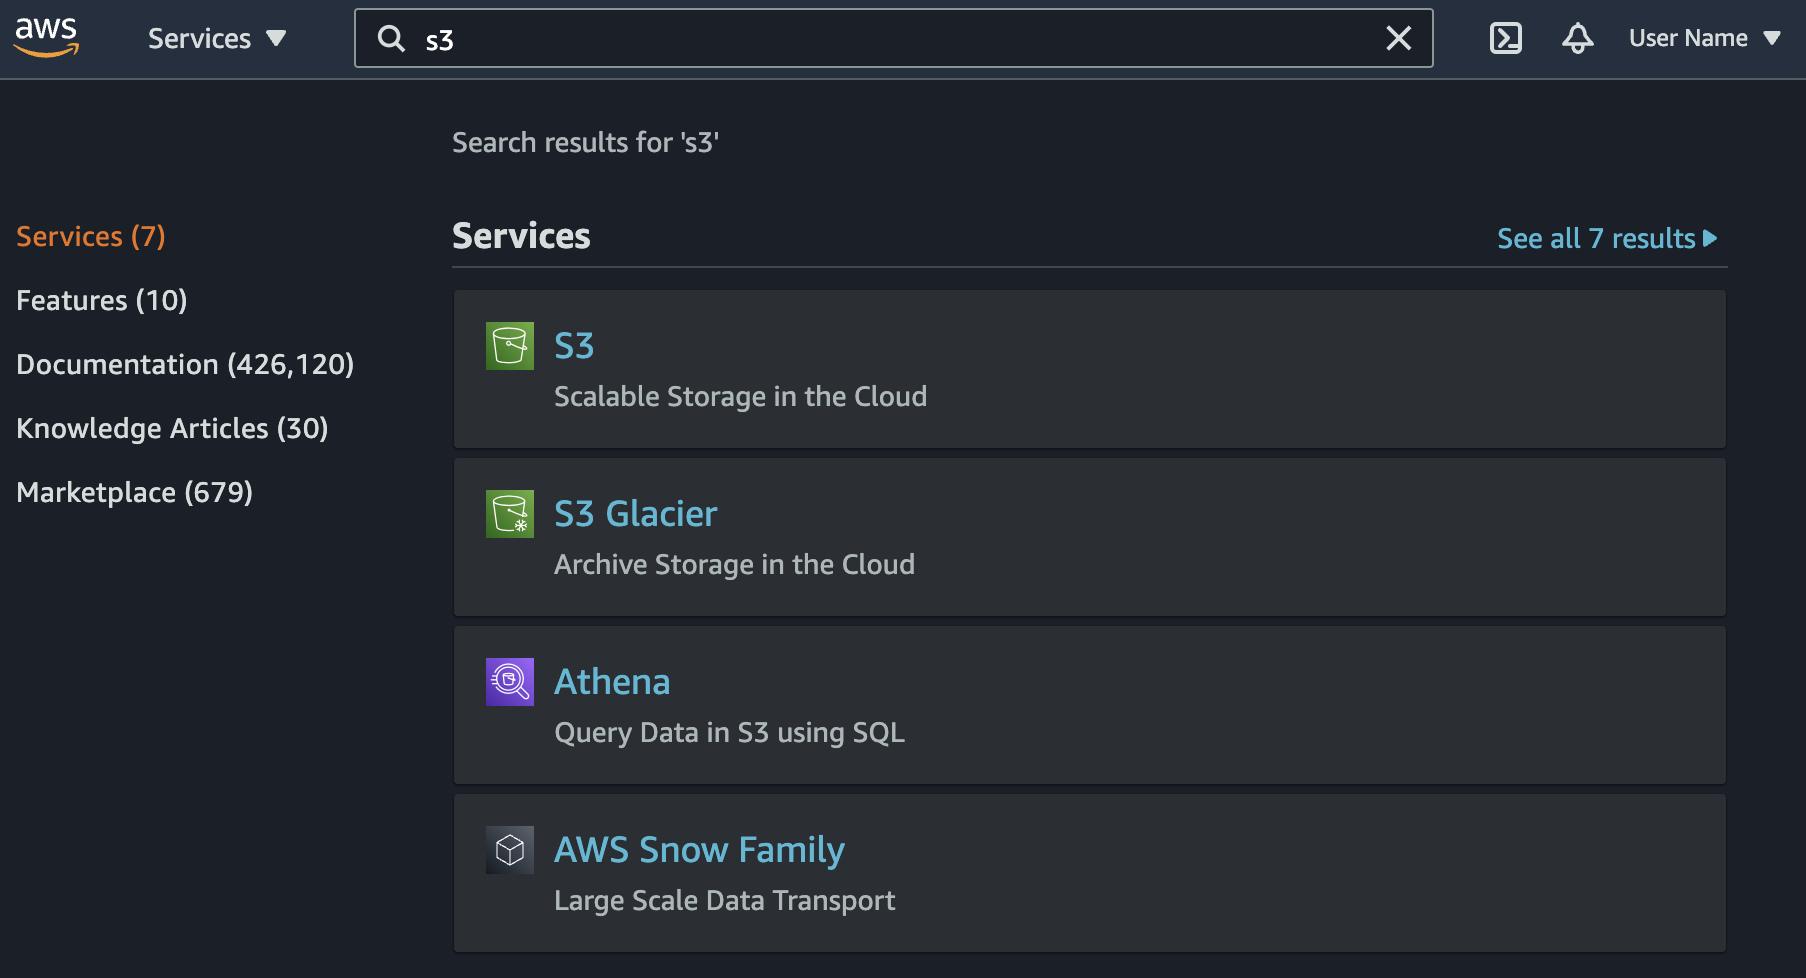
- Go to the AWS Management Console https://console.aws.amazon.com and Sign in.
- Click on the S3 Tab, then select your bucket (or create a new one)
- Click on permissions the button
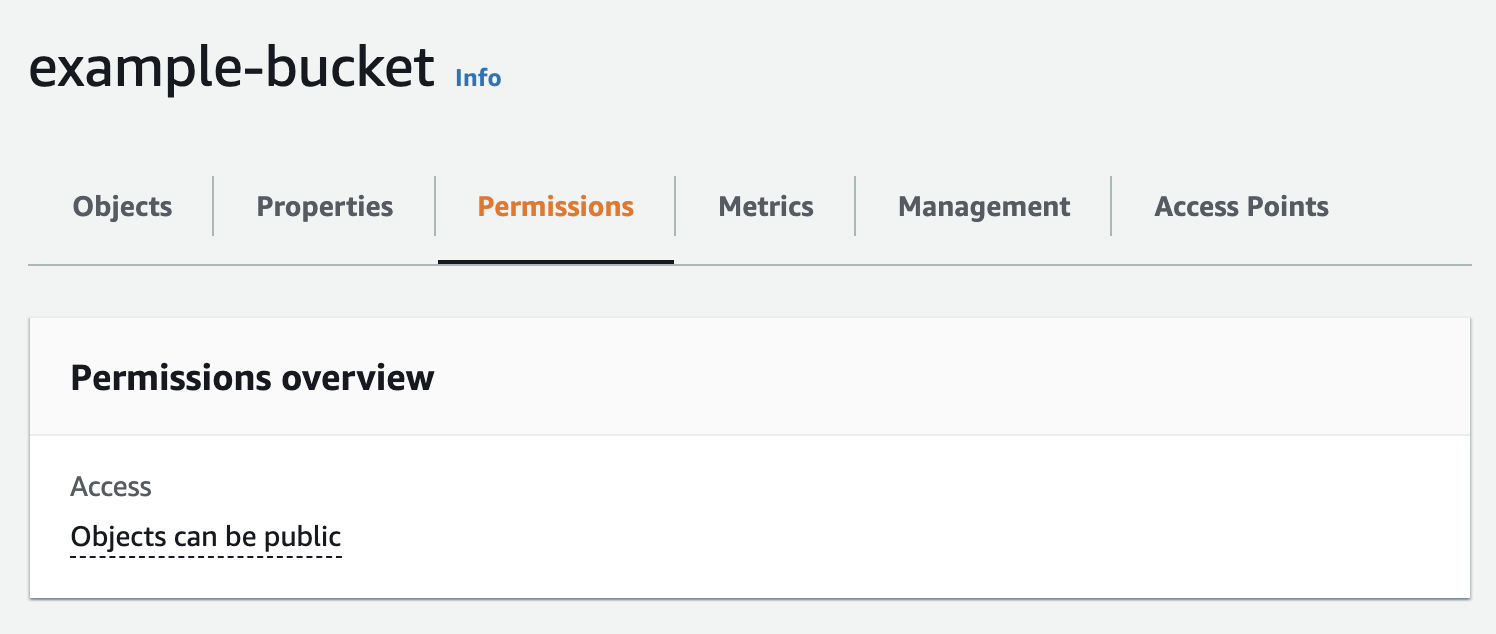
- Scroll down to the Access control list (ACL) panel
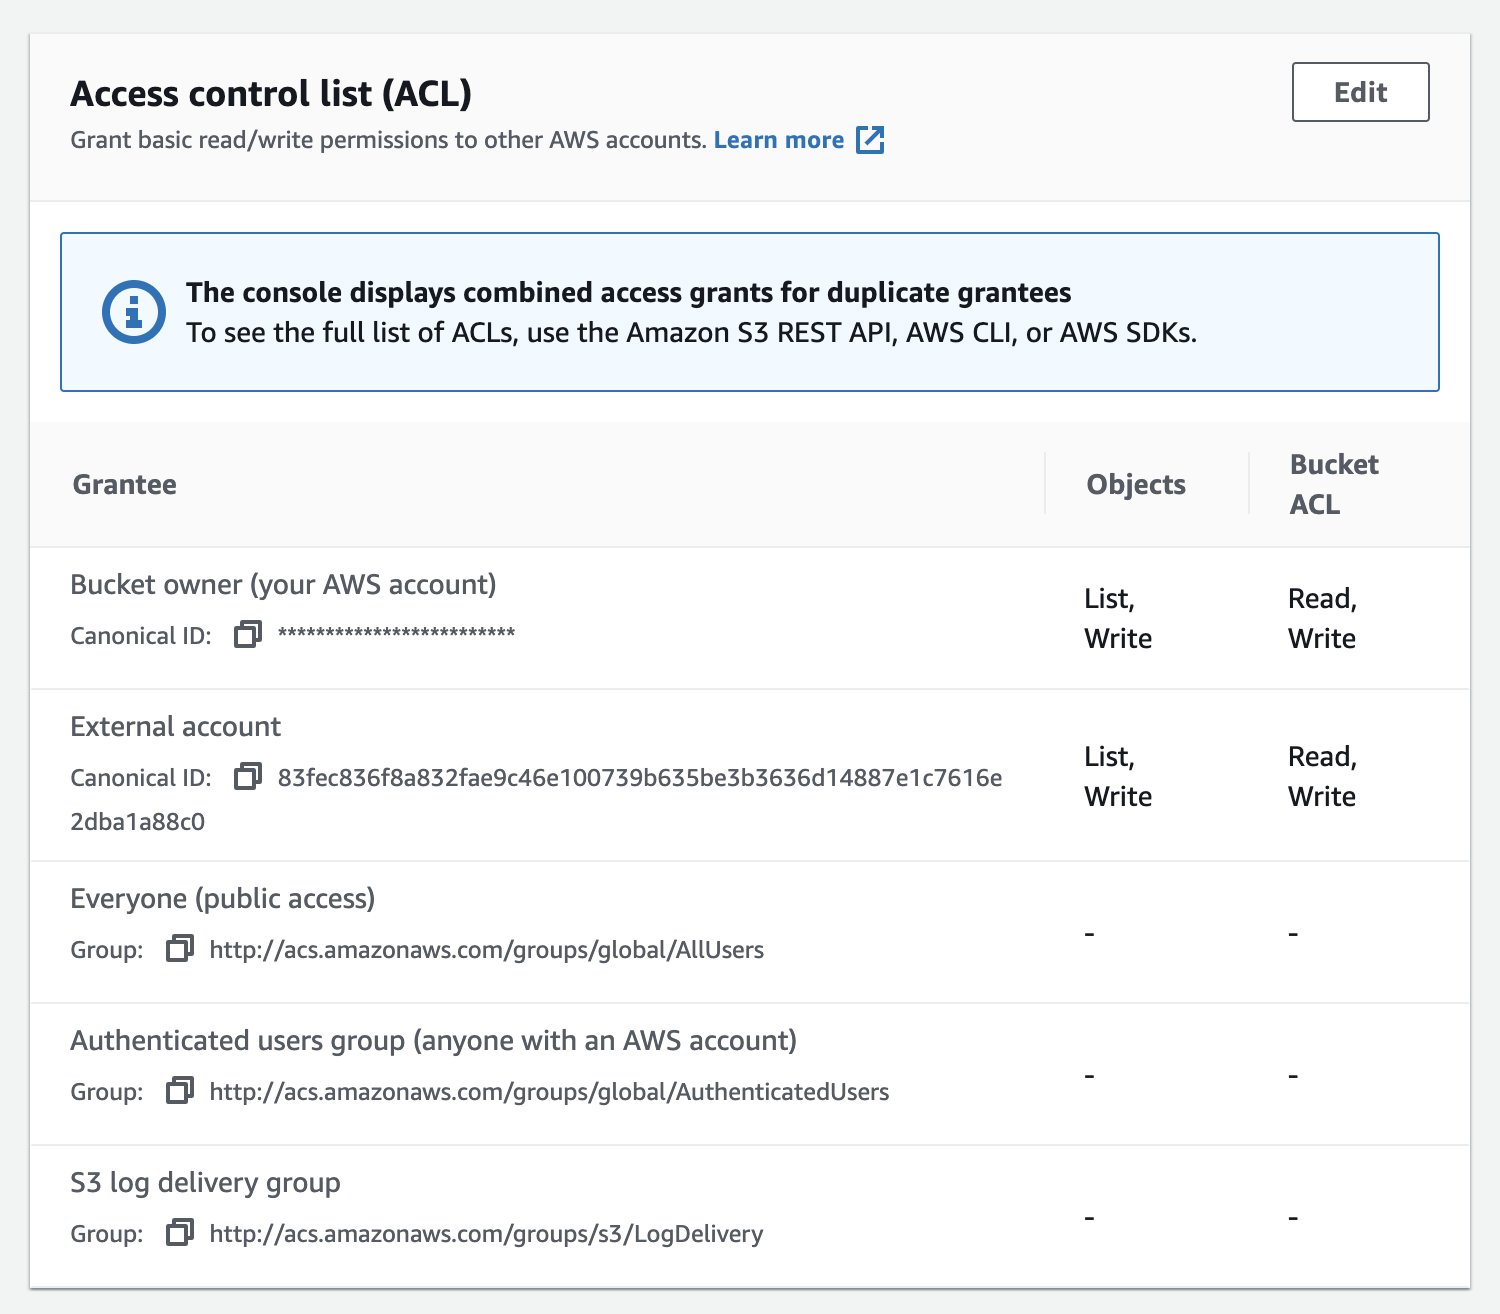
- Click
Editand thenAdd grantee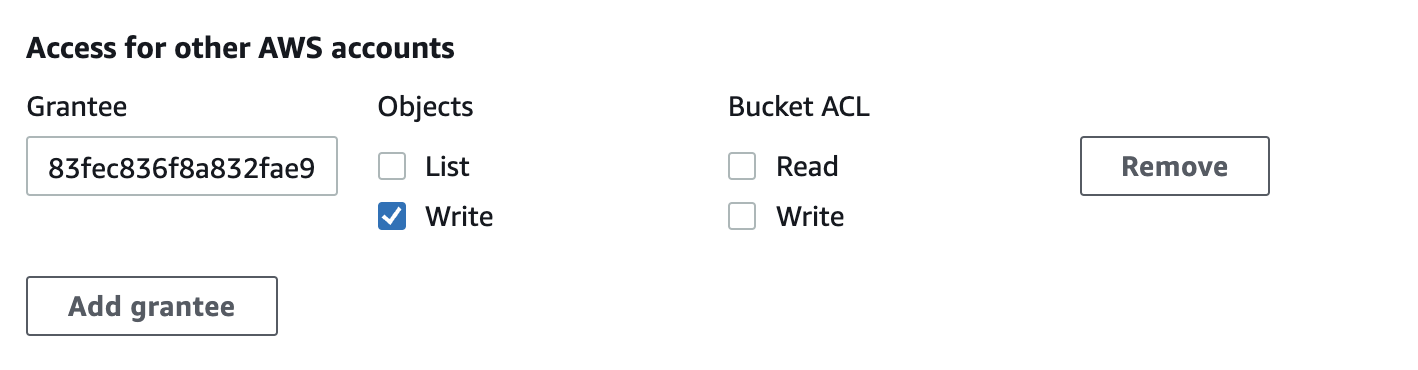
- In the
granteefield from above, paste the CloudMailin Canonical ID, choosewriteand then save
AWS Canonical ID:
83fec836f8a832fae9c46e100739b635be3b3636d14887e1c7616e2dba1a88c0
You should now have granted CloudMailin permission to add files to your S3 bucket.
Next we need to configure CloudMailin to send email attachments to S3.
If you have any questions feel free to contact us.
Sending Email Attachments to Azure Storage
It's possible to configure CloudMailin to send attachments directly to Azure Blob storage whenever an email is received.
Grant permission to send email attachments to Azure Blob Storage
- Create a new
Containerin the Azure Blob Service panel in your Azure Storage Account.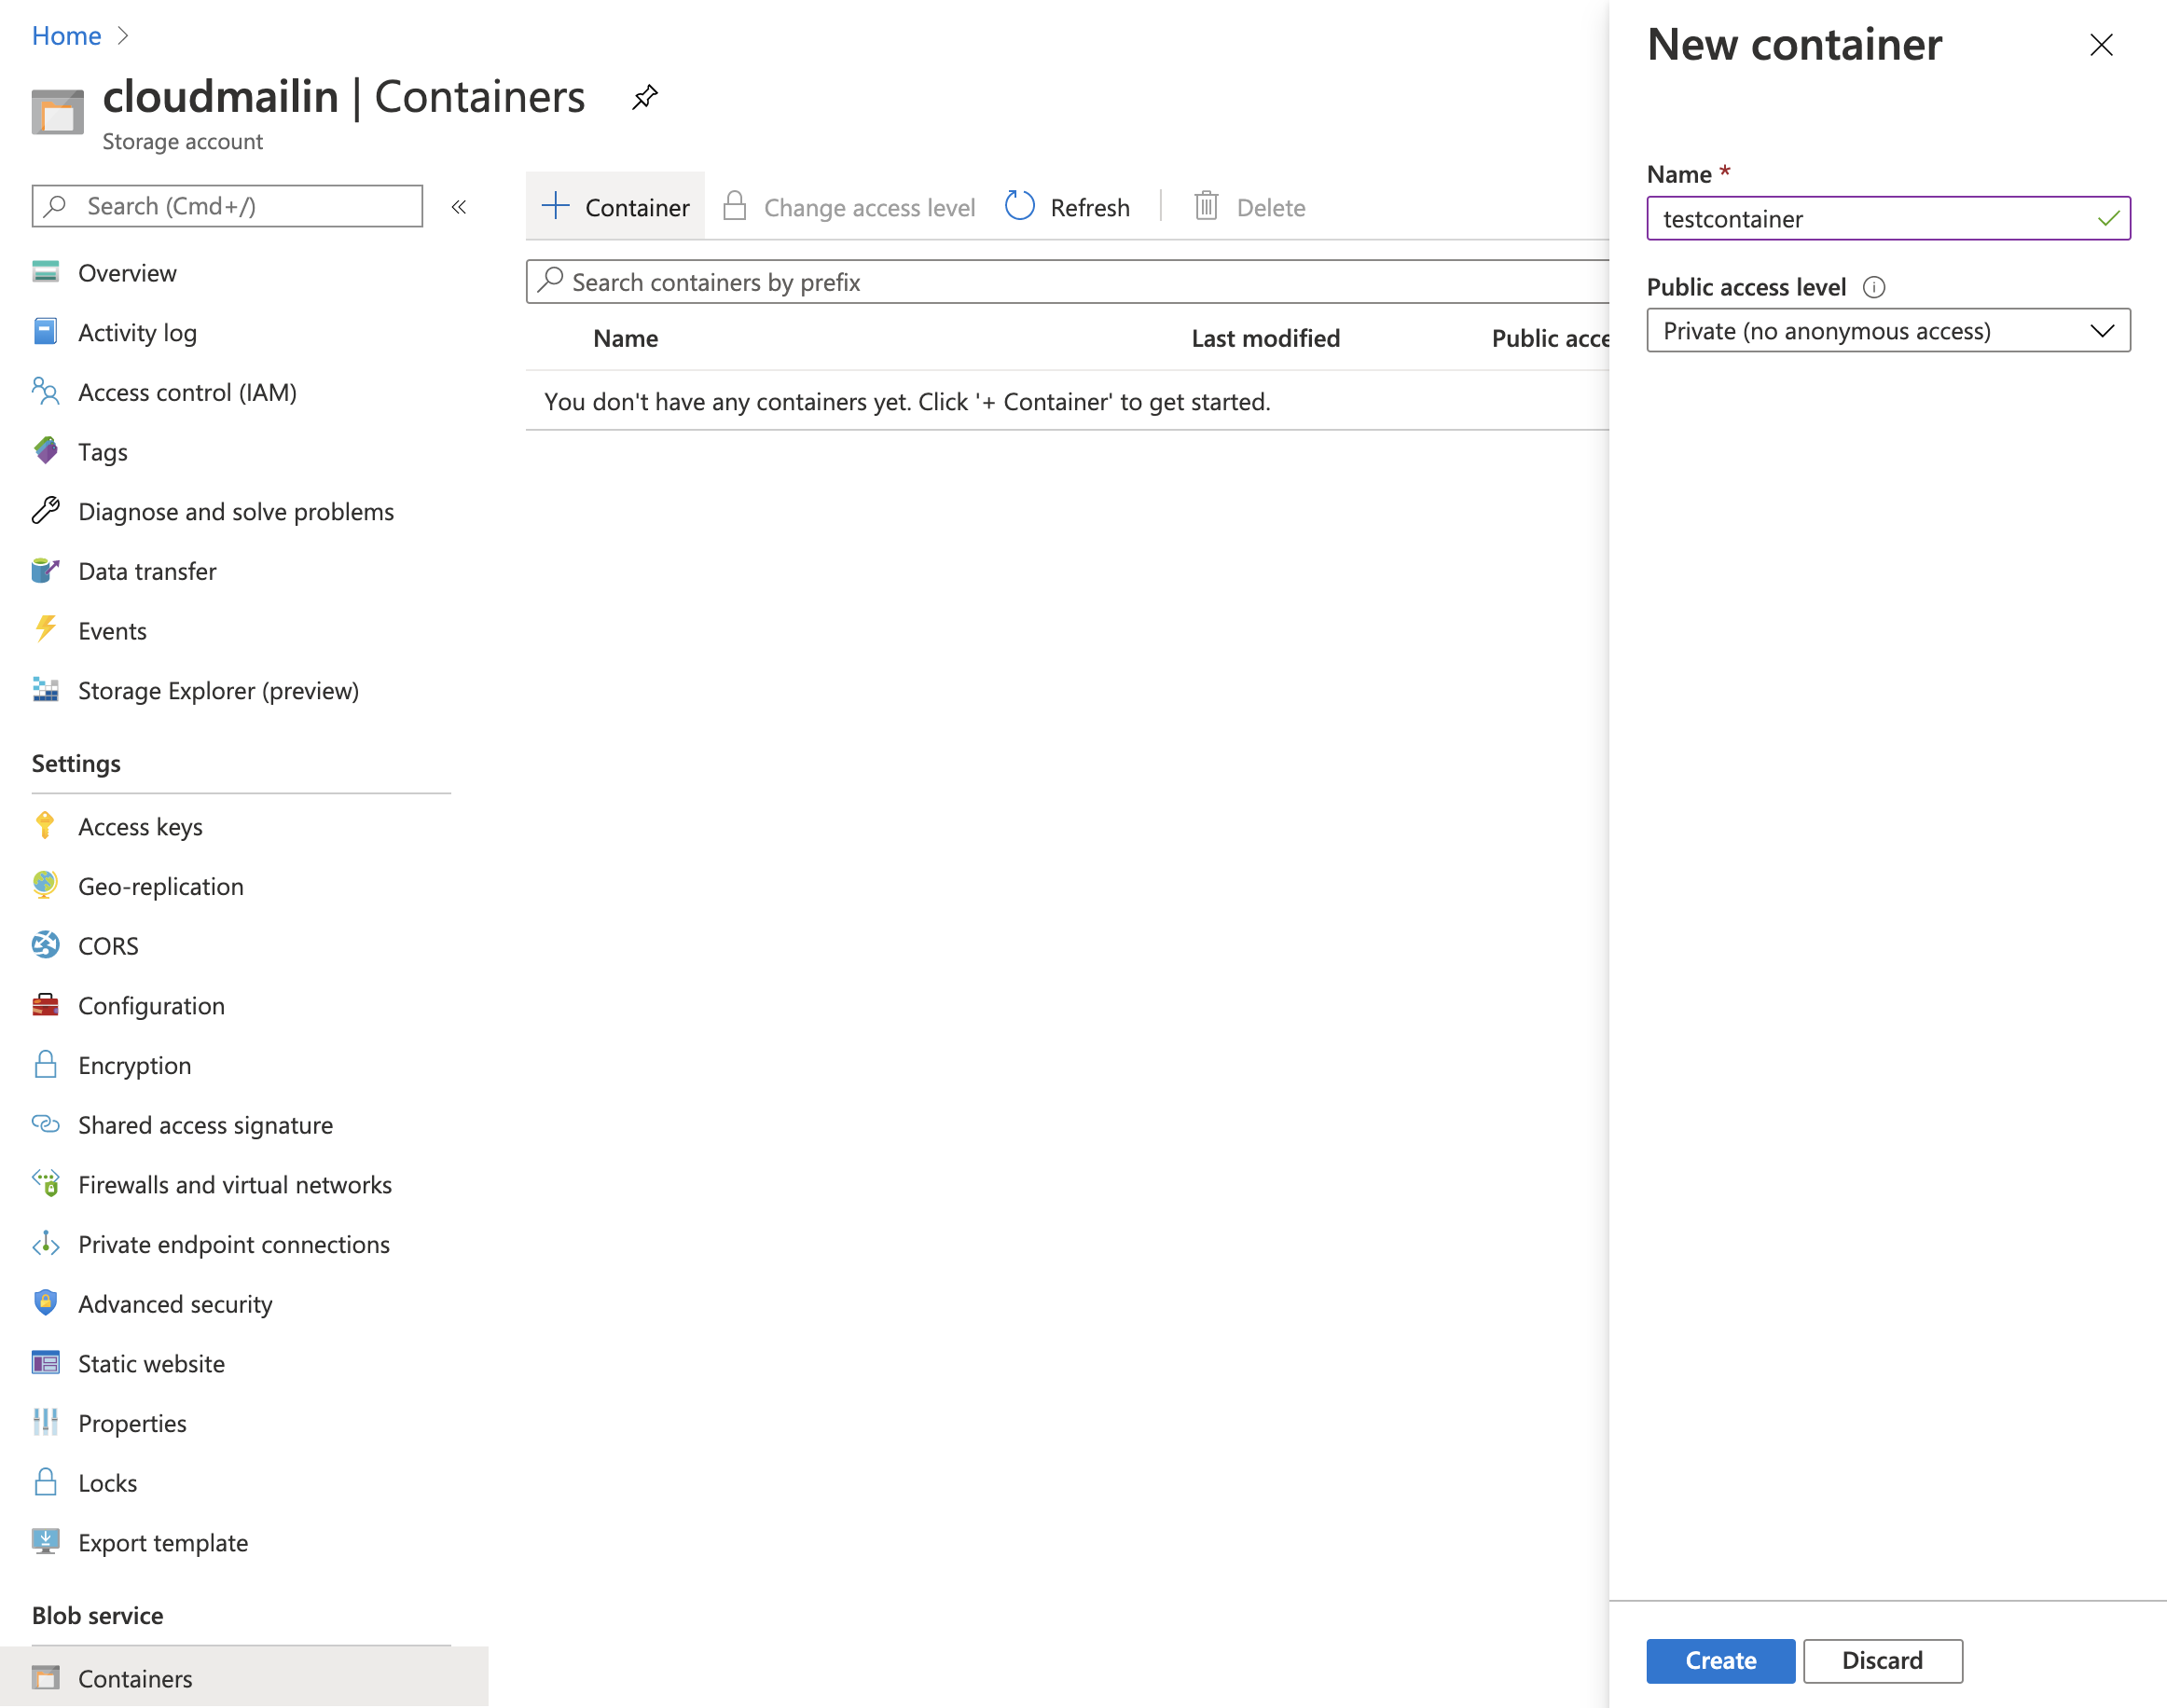
- Go to Settings and then
Shared Access Signature(SAS). - Generate a SAS URL for the
Blobservice withObjectandWritepermission and select the start and end dates for the signature. You'll need a large enough date range to provide CloudMailin continued access to the container.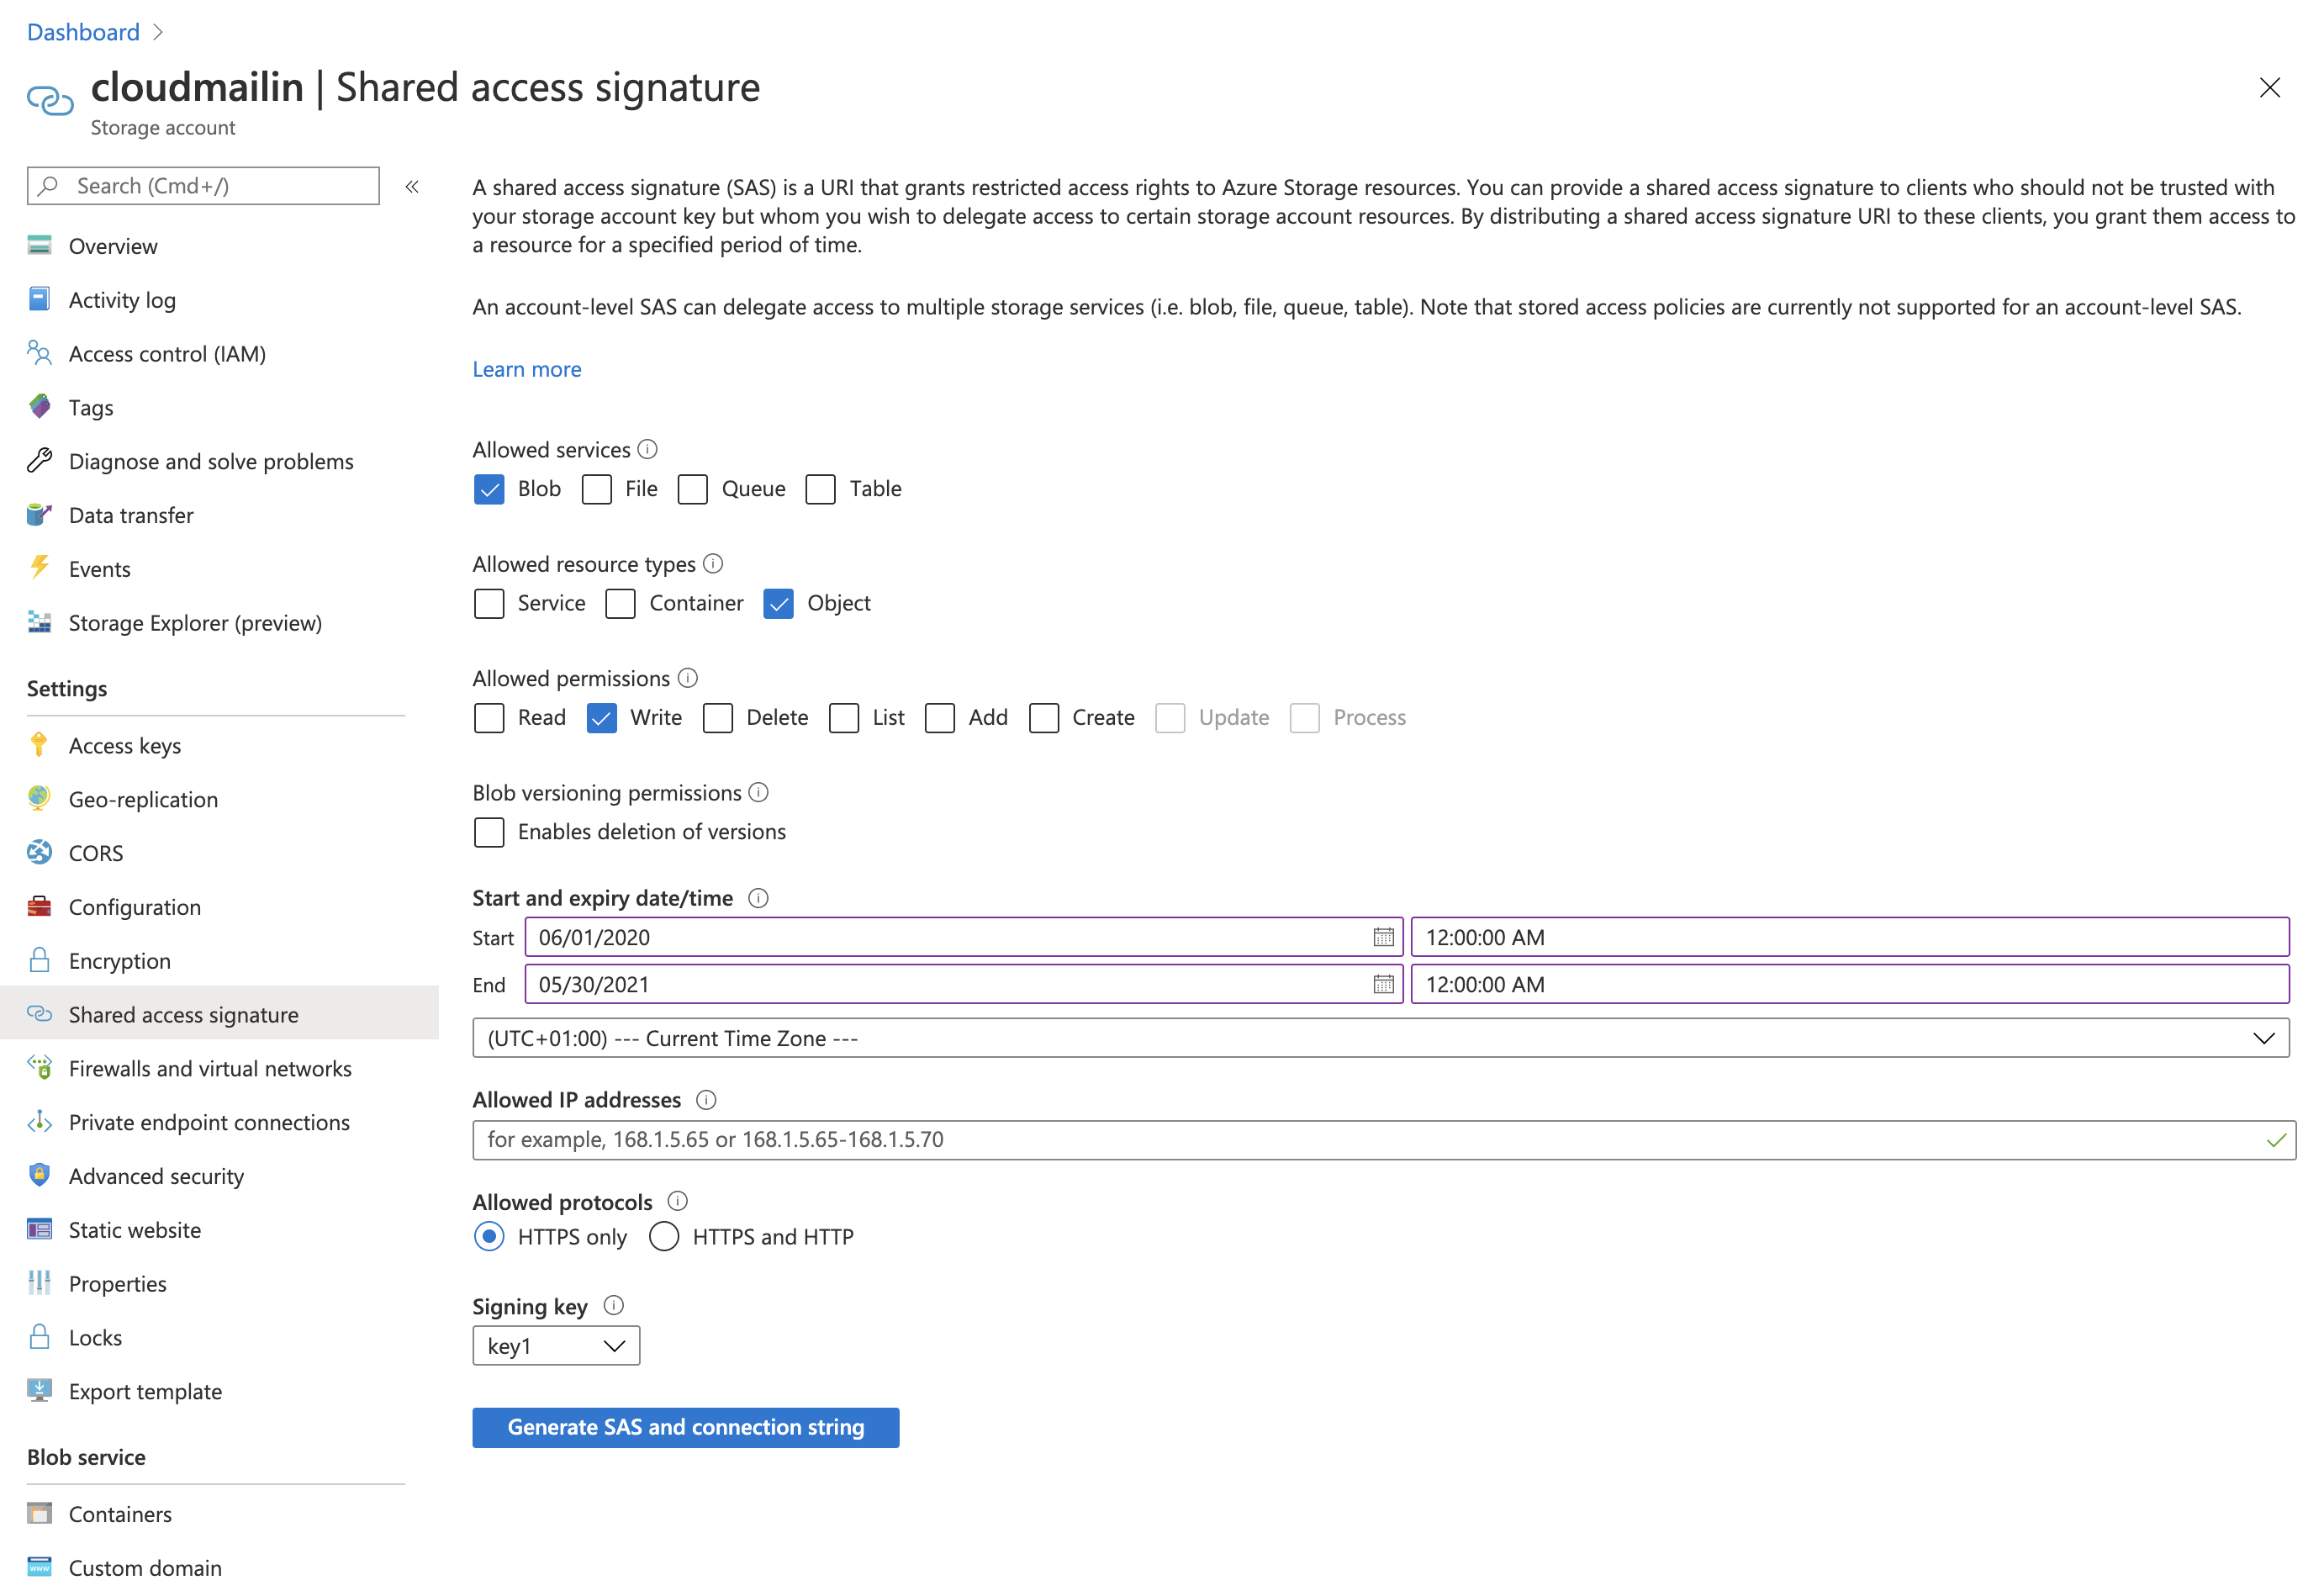
- Once you've generated the URL you'll need to save a copy of the full
SAS URL.
Be sure to select a large enough date range for continued use with CloudMailin.
You should now have granted CloudMailin permission to add files to your Azure Blob Service container.
Next we need to configure CloudMailin to send email attachments to Azure.
If you have any questions feel free to contact us.
Sending Email Attachments to Google Cloud Storage
It's possible to configure CloudMailin to send attachments directly to Google Cloud storage whenever an email is received.
Grant permission to send email attachments to Google Cloud Storage
You'll need to grant access to your storage bucket for us to be able to send attachments to your bucket.
- Head to the Google Cloud Platform management page and go to Storage.
- Create a new
Bucketor edit your existing bucket.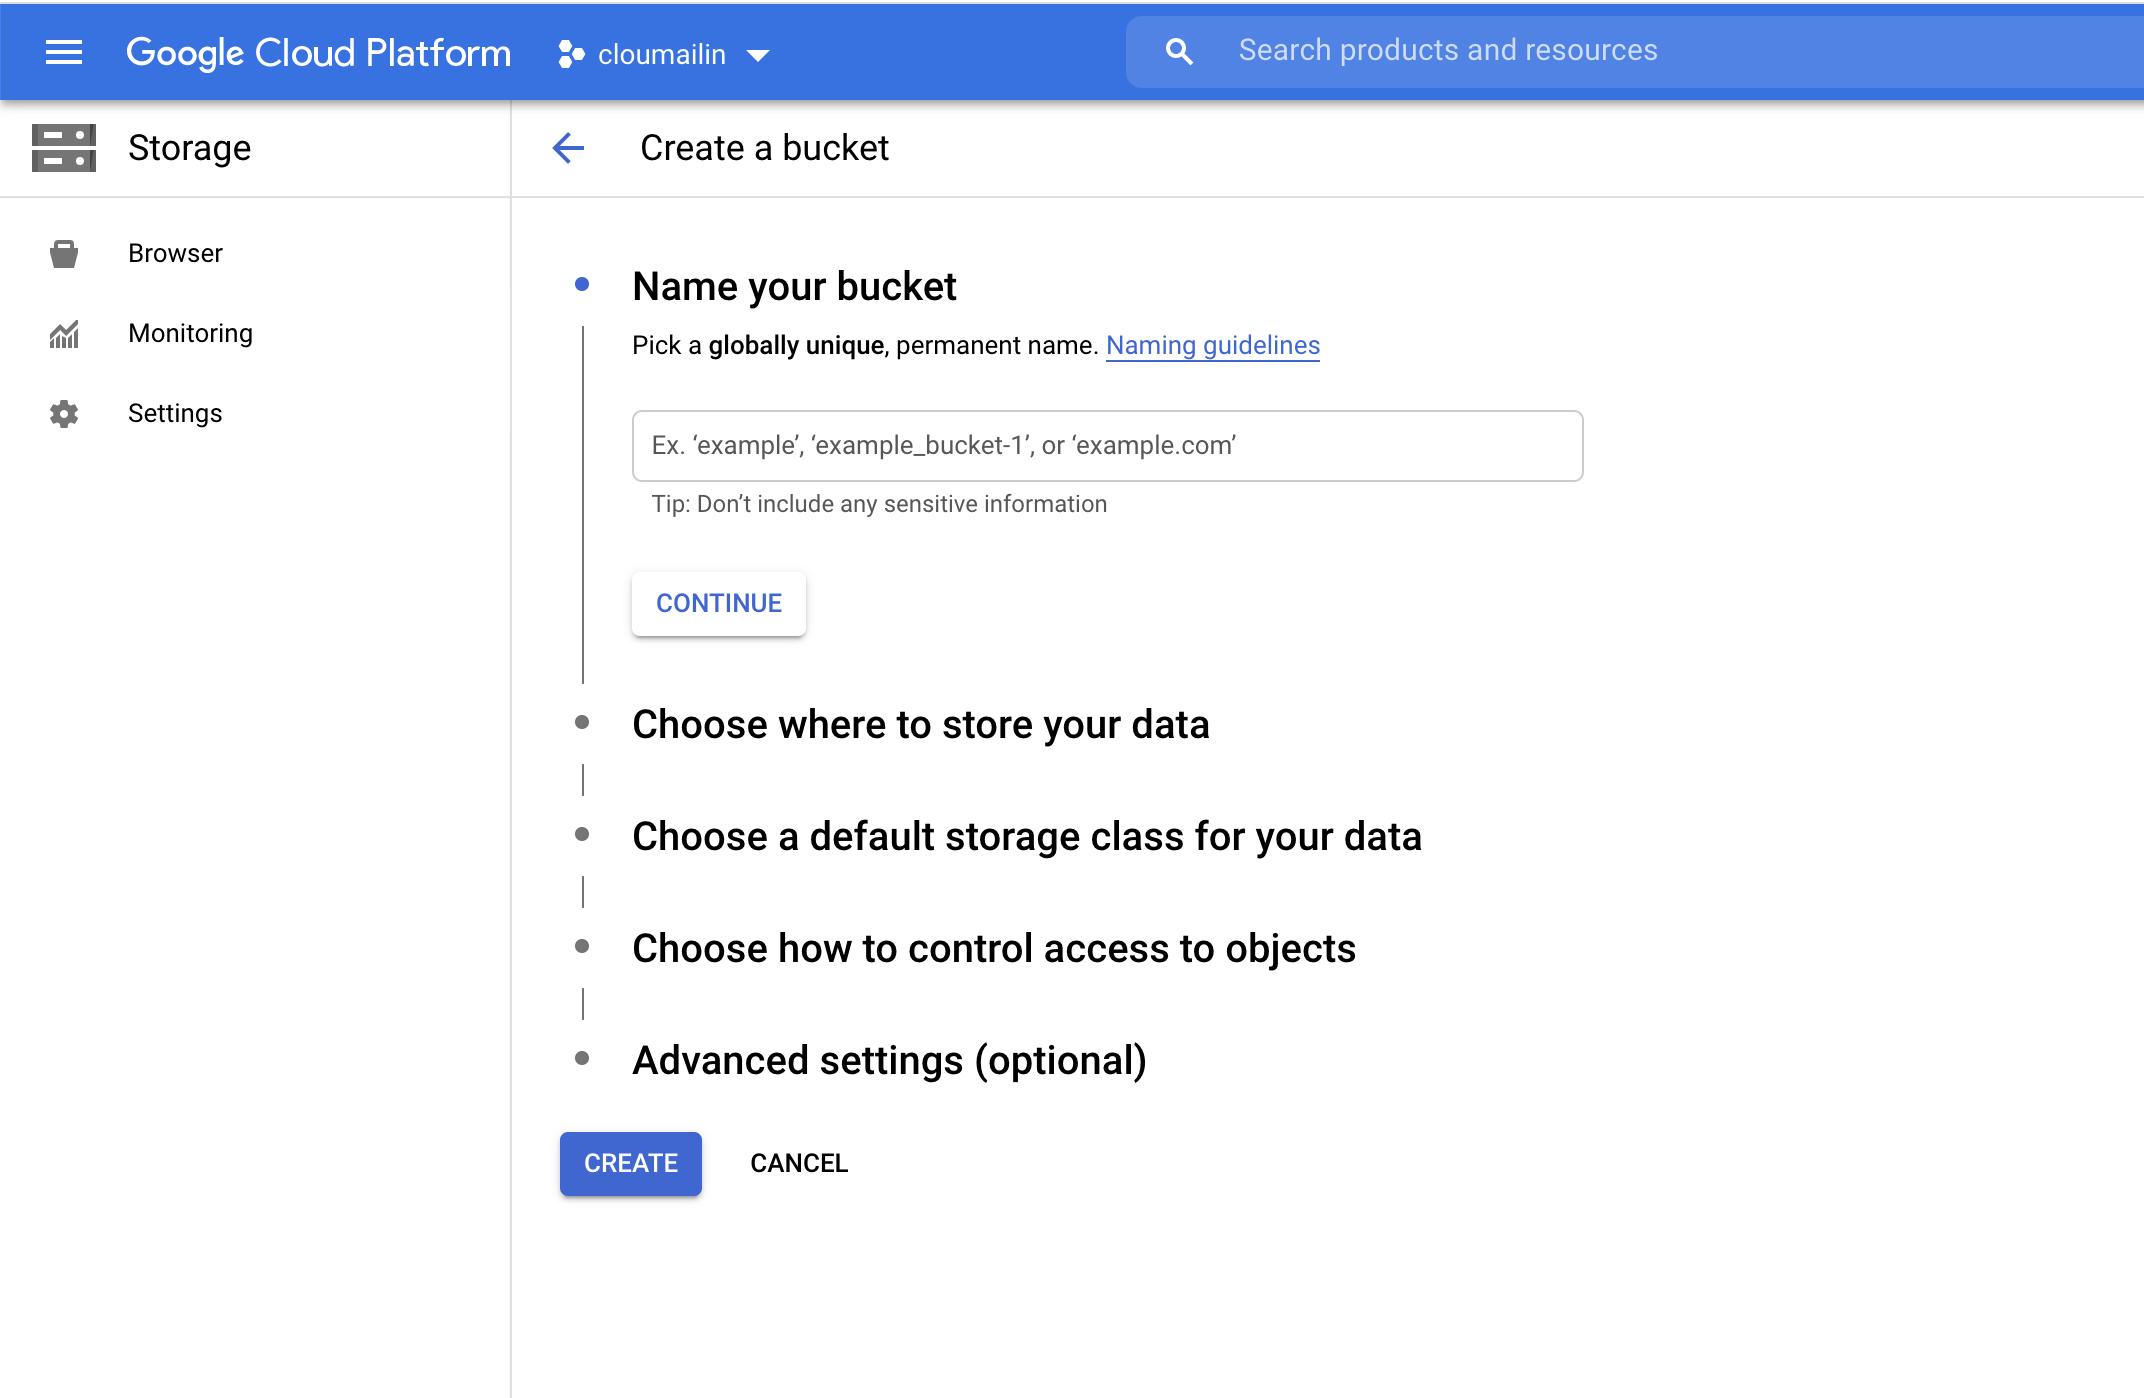
- Click on the
Permissions Taband selectAddto add a member to the permissions tab. - Grant the CloudMailin Service Account (below)
Storage Object Creatorpermission to allow the creation of new Storage Objects.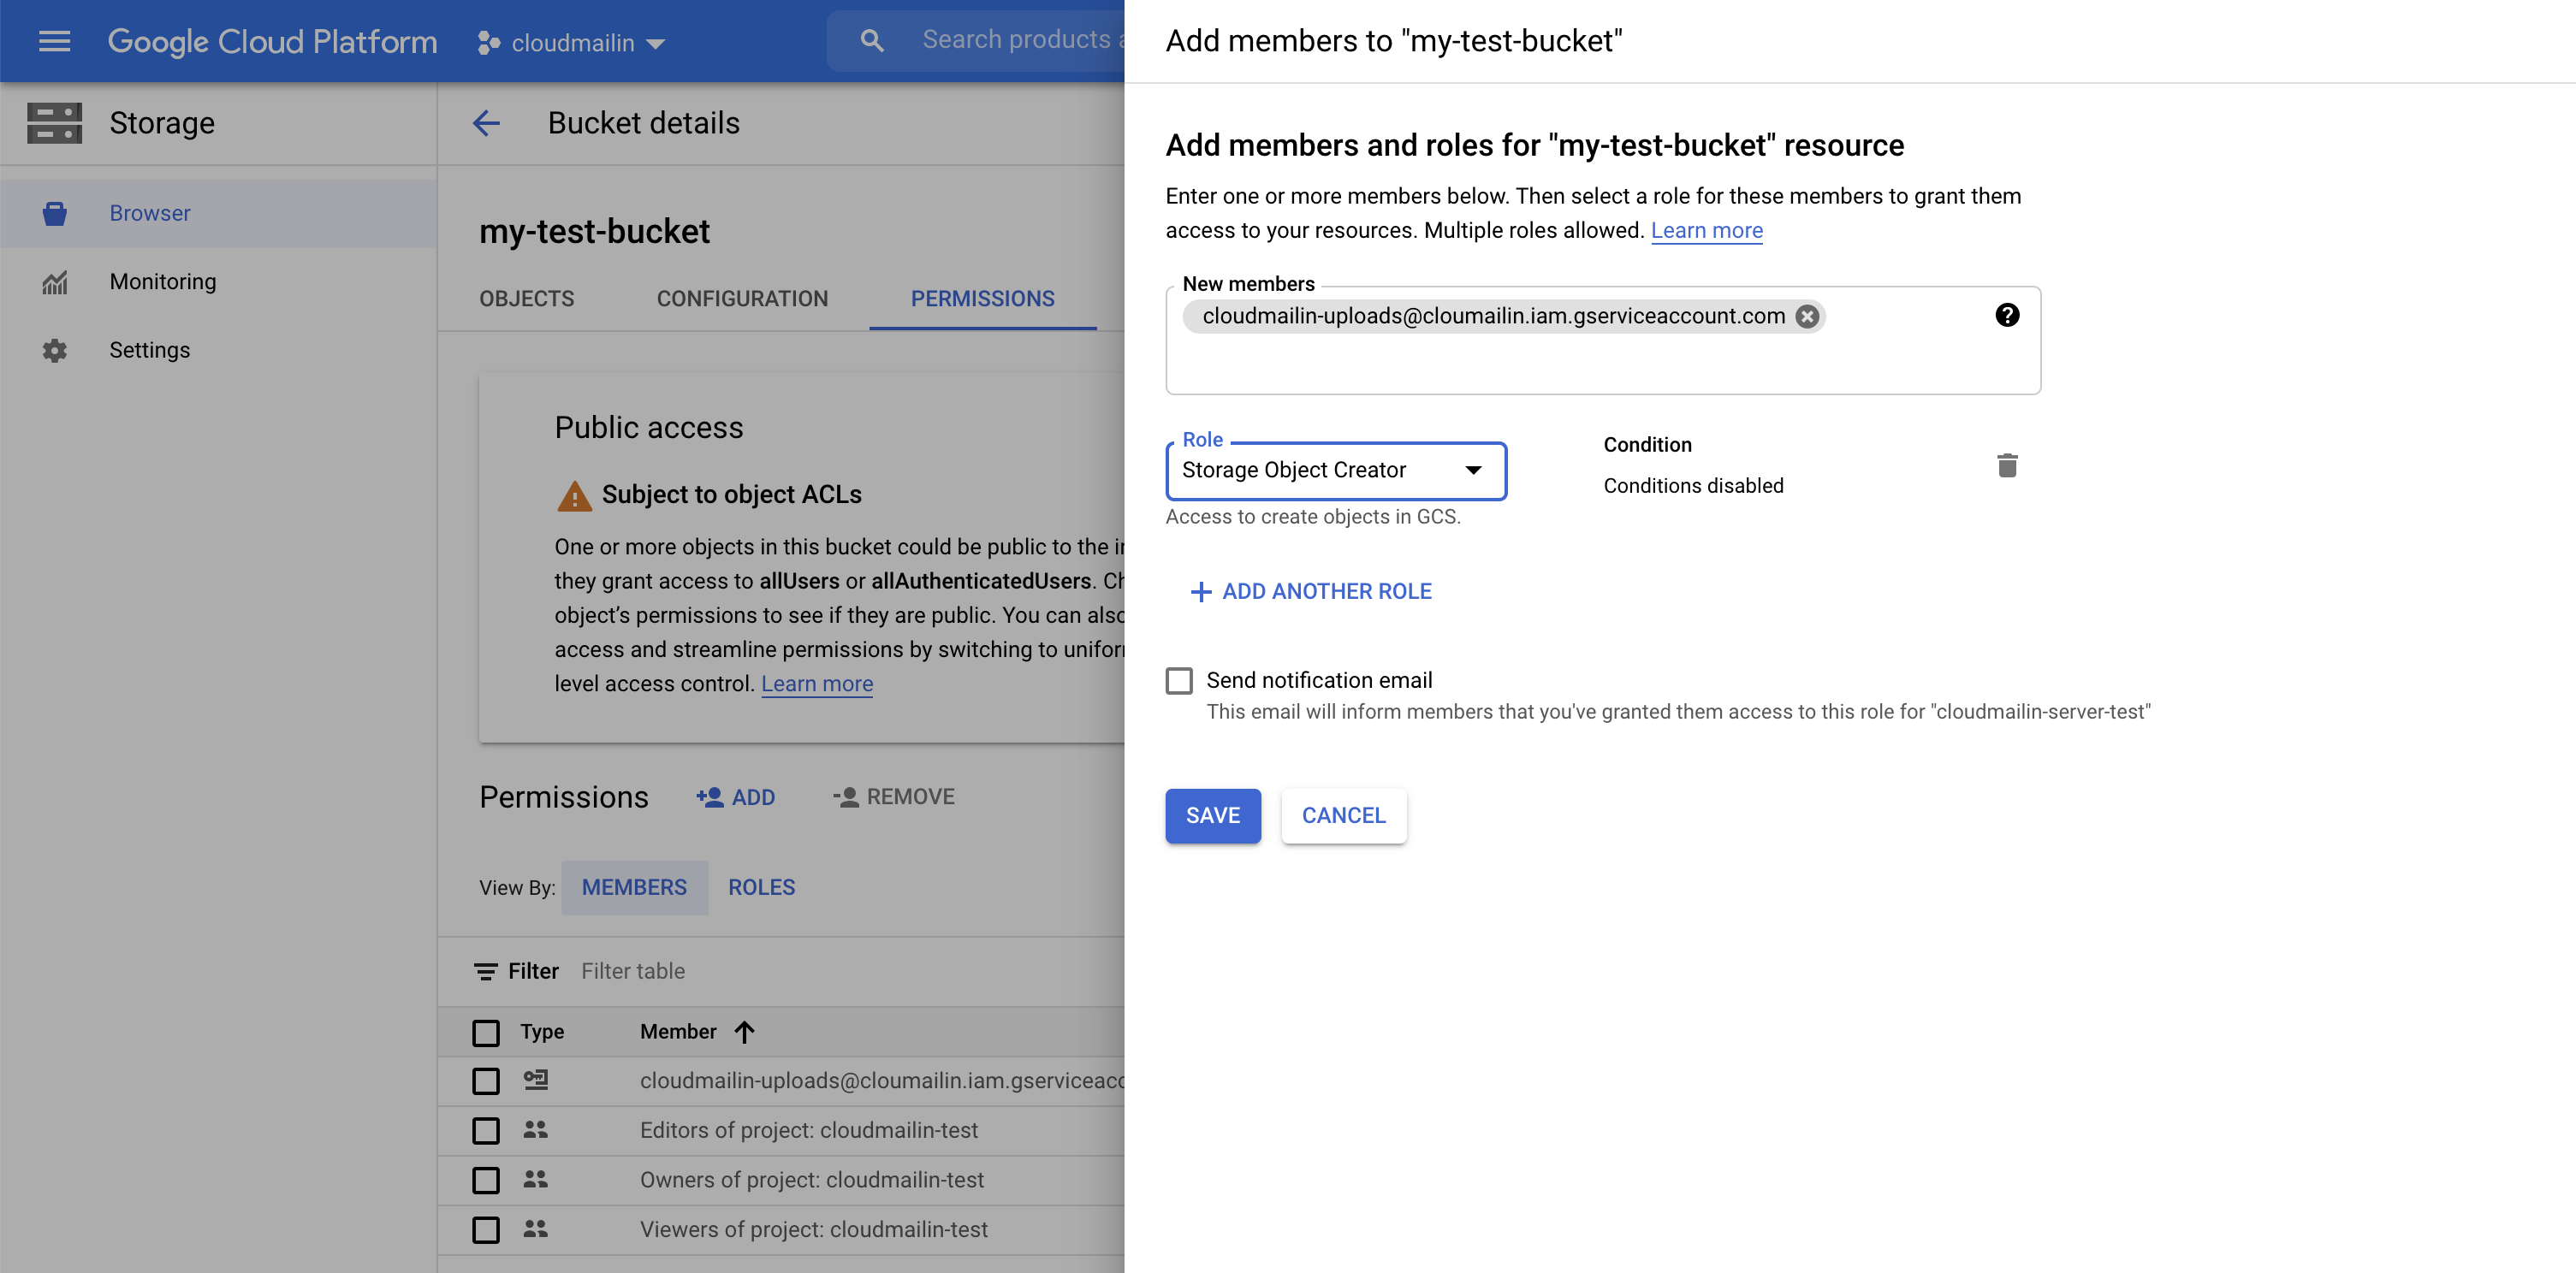
The CloudMailin service account that you need to grant permission is:
uploads@cloudmailin-uploads.iam.gserviceaccount.com
Next we need to configure CloudMailin to send email attachments to Google Cloud Platform.
If you have any questions feel free to contact us.
Setting up CloudMailin
Now that you've configured your Cloud Storage provider you'll need to configure CloudMailin to send attachments to your storage provider.
- Go to your CloudMailin email address list and select the address you wish to configure.
- Click
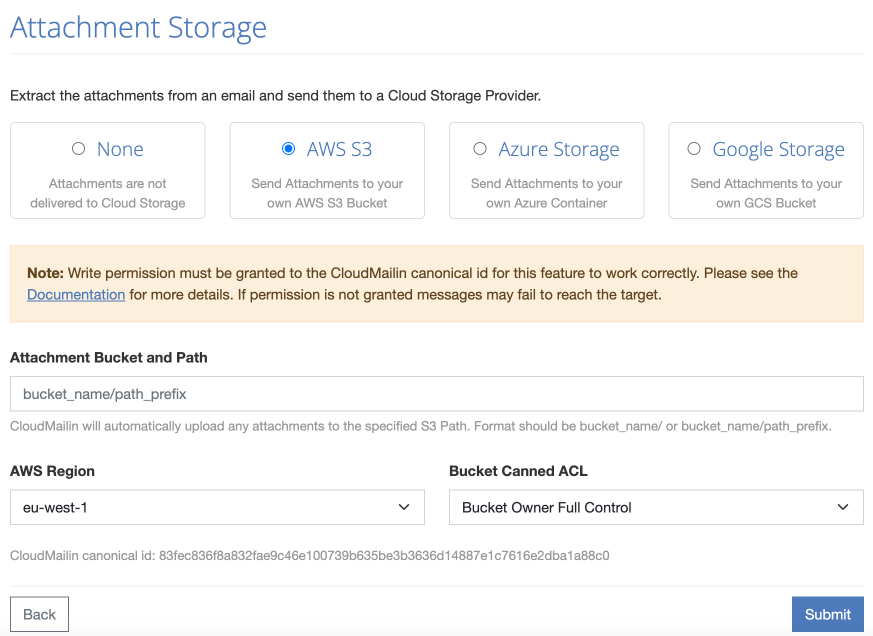
Add Attachment Storeand select your storage provider. - You'll now need to enter the credentials you used when setting up your
storage provider.
- For amazon enter your Amazon Web Services (AWS) S3 bucket name and an
optional path to place before each file. In the format
bucket_name/path_prefix. You'll also need to add your S3 Bucket region and the AWS Canned ACL that you wish to use. - For Azure enter your Azure Blob Storage container name and the full SAS URL that you generated above.
- For Google Cloud Platform enter your Google Cloud Storage bucket name and
an optional path to place before each file. In the format
bucket_name/path_prefix.
- For amazon enter your Amazon Web Services (AWS) S3 bucket name and an
optional path to place before each file. In the format
- Click
Saveand you're done, CloudMailin will write a test file to your storage account to check permissions.
CloudMailin will upload attachments using a random filename generated by our system. This is because we don't wish to require read access, only write access, to a bucket and we therefore cannot check if a file already exists. Although it is unlikely it is theoretically possible that we could generate the same filename twice. If this is a concern you should move the files once you receive the url from our servers.
Once this is configured correctly you will see an additional attachments parameter being passed with the content type, url and original file name of your attachments. For more details about the attachment format see the documentation on the HTTP Post Formats.