Full Email Storage / Backup API for AWS S3, Google Cloud Storage, Azure Blob
CloudMailin allows you to receive any volume of email over HTTP via HTTP POST Webhook. For some time it has been possible to offload the sending of email attachments to Cloud Storage such as Amazon Web Services (AWS) S3, Google Cloud Platform Storage or Azure Blob Storage.
It's also possible to send the entire email to CloudStorage, opening up new possibilities for your HTTP server to process inbound emails.
You can send the full email to:
Why send email directly to Cloud Storage?
Sending your full email, rather than just the email attachments to AWS S3, Google Cloud Storage or Azure Blob Storage opens new possibilities for receiving inbound emails via Webhook. You could process the email asynchronously, use the system as a backup or work more effectively with serverless functions for example.
Email storage formats
There are two formats available for full email storage raw and parsed JSON:
| Format | Description |
|---|---|
RAW |
The original, unparsed email with headers and body. |
JSON |
A fully parsed email in JSON format. This format is the same as the JSON format sent to your Webhook. |
Send the full email to AWS S3
Once you have enabled the feature you setup the Full Message storage in a very similar way to setting up attachment storage.
Grant CloudMailin permission send email to your AWS S3 Bucket
There are several ways that you can grant permission for CloudMailin to create files in your S3 Bucket. The simplest is to use the AWS website.
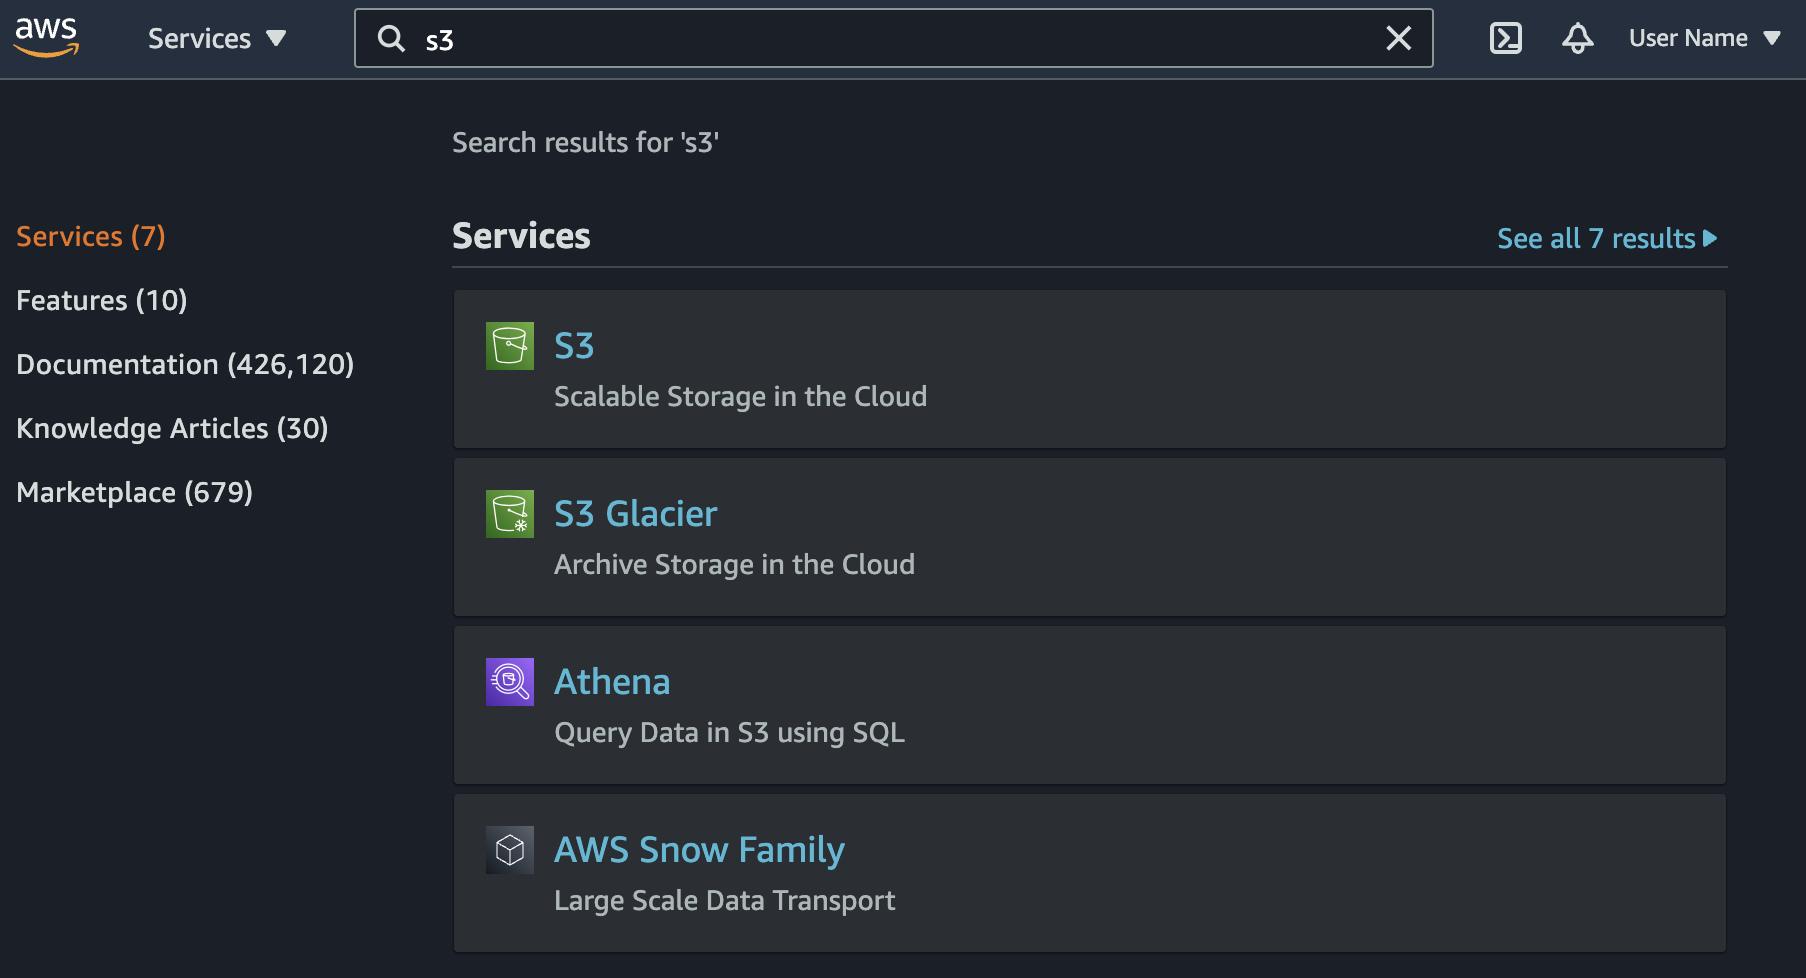
- Go to the AWS Management Console https://console.aws.amazon.com and Sign in.
- Click on the S3 Tab, then select your bucket (or create a new one)
- Click on permissions the button
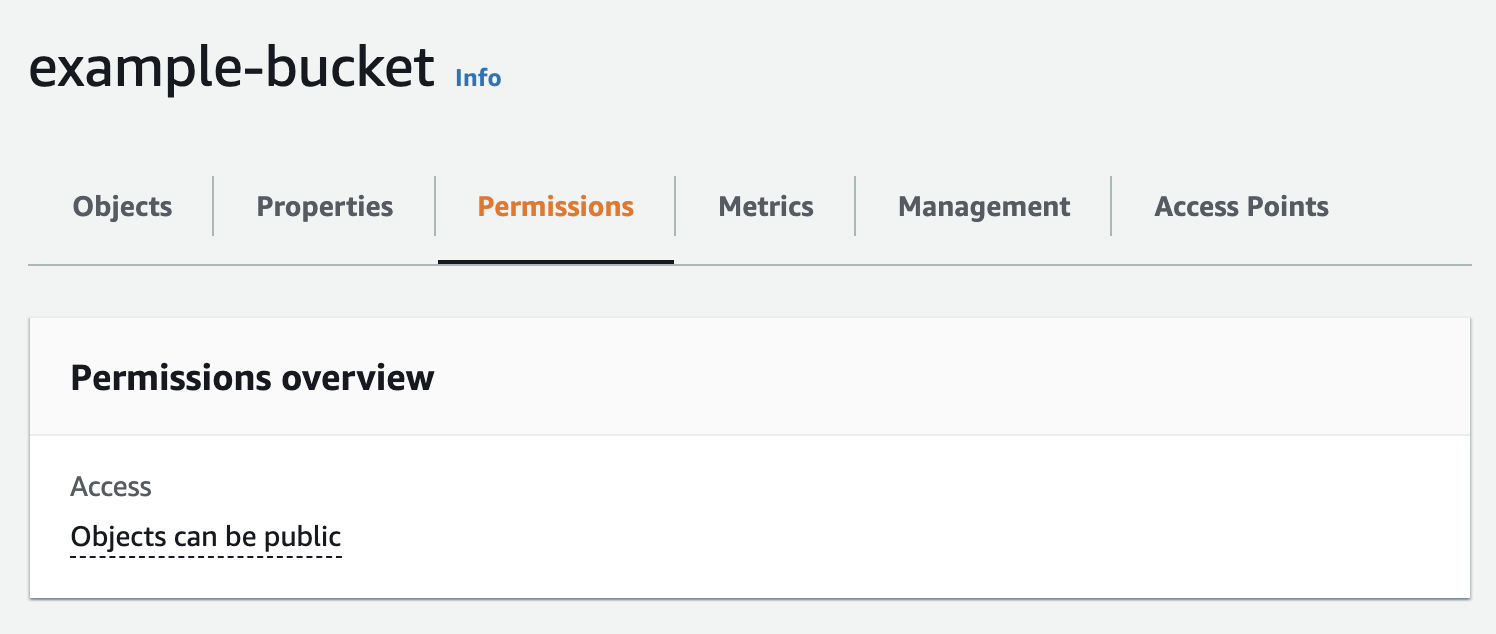
- Scroll down to the Access control list (ACL) panel
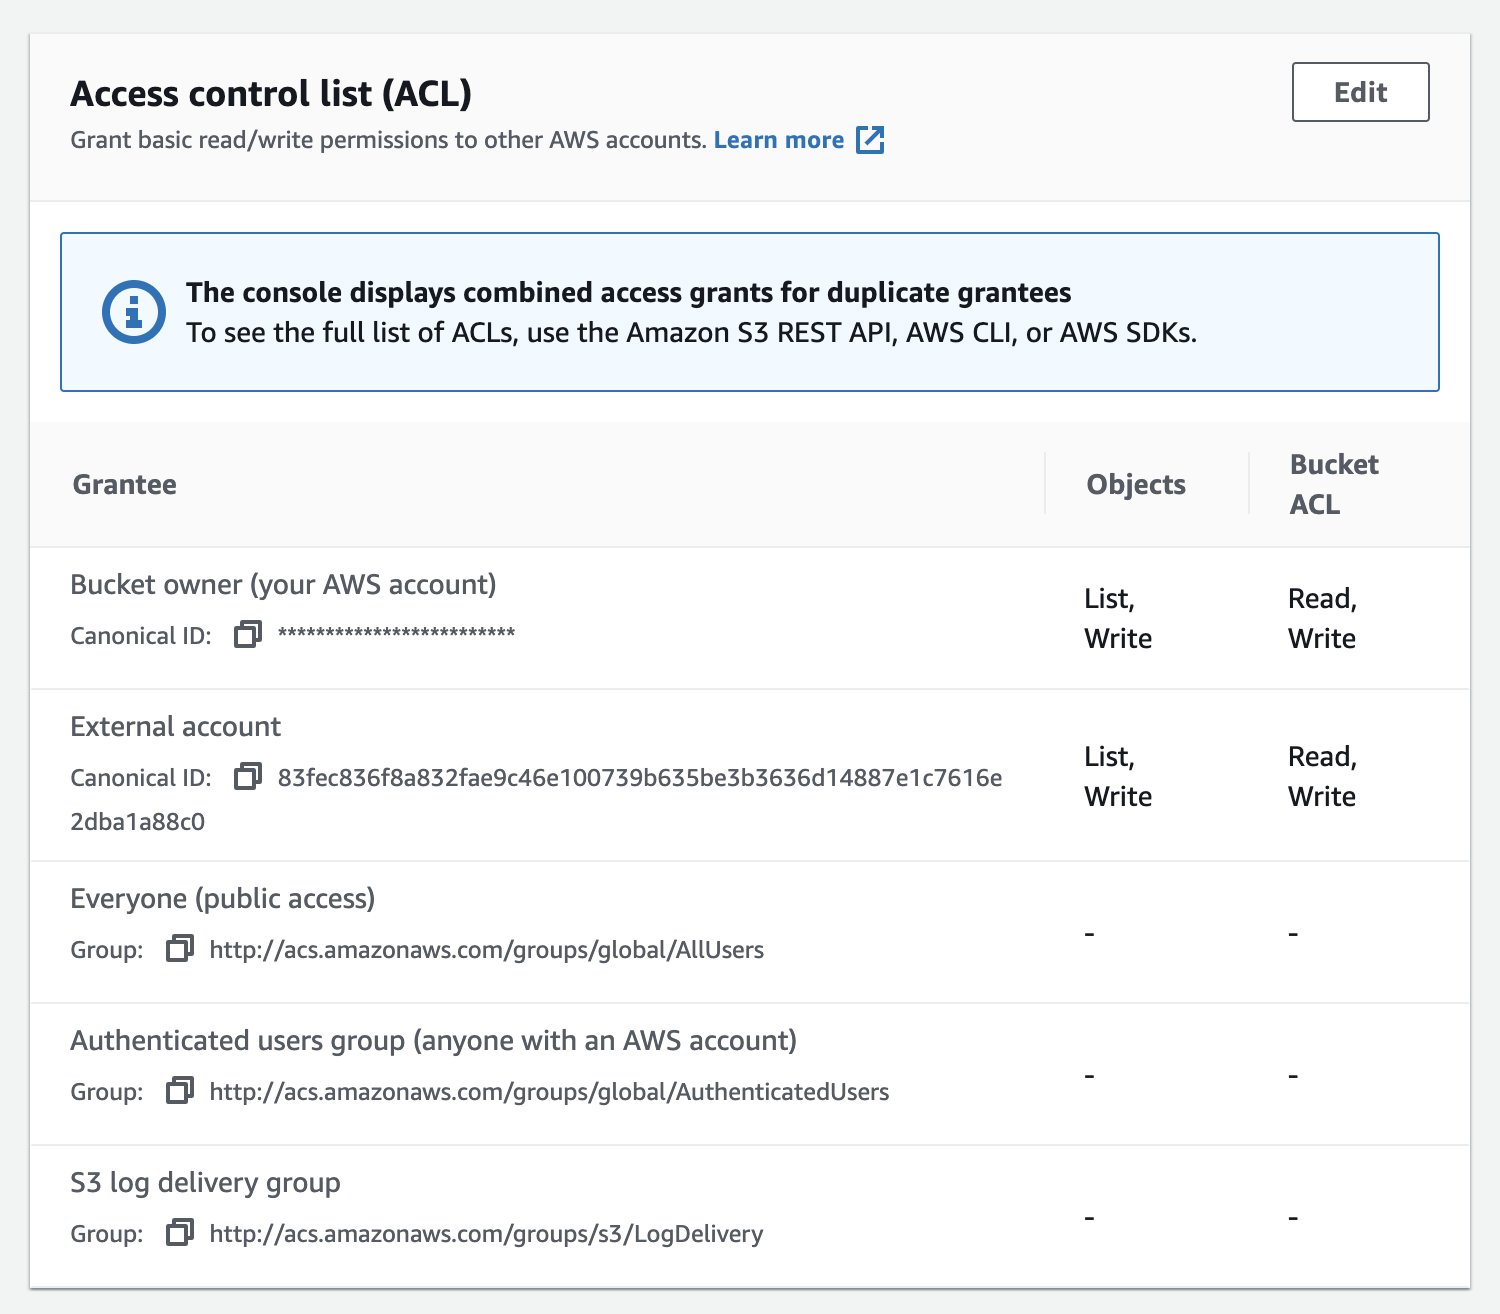
- Click
Editand thenAdd grantee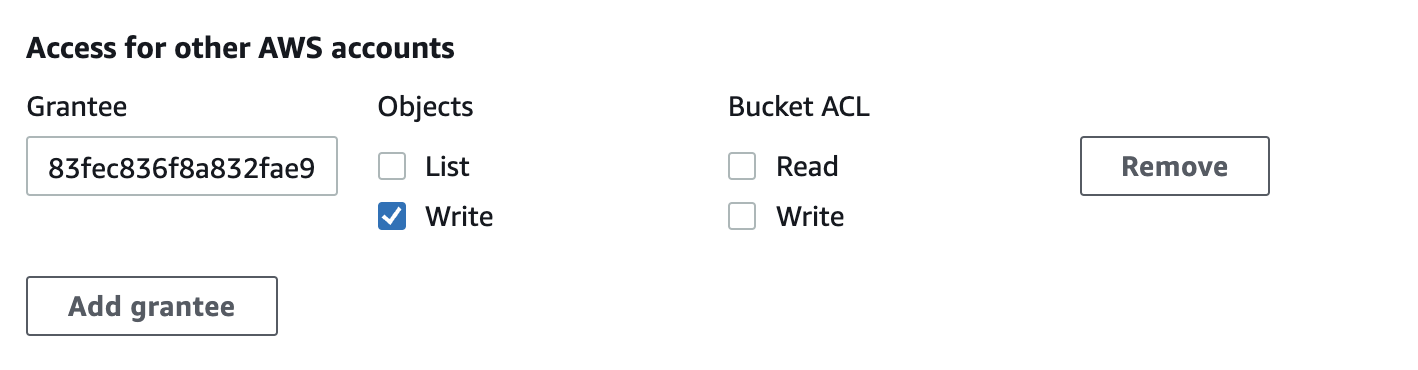
- In the
granteefield from above, paste the CloudMailin Canonical ID, choosewriteand then save
AWS Canonical ID:
83fec836f8a832fae9c46e100739b635be3b3636d14887e1c7616e2dba1a88c0
You should now have granted CloudMailin permission to add files to your S3 bucket. You can now Setup CloudMailin to receive the emails in it's Webhook.
Send the full email to Azure Blob Storage
It's possible to configure CloudMailin to send attachments directly to Azure storage.
You'll need to give us your storage credentials so that we can create a file within your storage account.
In order to use Azure file storage contact us.
Send the full email to Google Cloud Storage
It's possible to configure CloudMailin to send attachments directly to Google Cloud storage. This helps reduce the burden on your application and improves response times.
You'll need to give us your storage credentials so that we can create a file within your storage account.
In order to use Google Cloud file storage contact us.
Setup CloudMailin to Send Emails to Cloud Storage
Now that you've added the permission to upload emails head to CloudMailin and enable the feature.
- Log into your Address Dashboard and choose the address you wish to manage.
- Select
Add full message storage. - Enter your AWS S3 bucket name and an optional path prefix to place before
each file name (in the format
bucket_name/path_prefix). You'll also need to add your S3 bucket region. - You will need to select the permission to apply to files when they are
created. We recommend using
Bucket owner full controlhere. - Finally, you'll need to select the Format.
Now when your emails are received you'll still get the regular Webhook but your
HTTP POST will also include the store_url parameter in the envelope. For
example the JSON format will look like the following:
"envelope": {
  "to": "to@example.com",
  "from": "from@example.com",
  "helo_domain": "localhost",
  // ...
  "store_url": "https://example.s3.amazonaws.com/2021_12_01_00_00_00_a8ed6a3f7aeb93ce726b9dd2dea9eb53.eml"
}
For more detail relating to the store_url see the HTTP Post Formats documentation.