Receiving Mail With CloudMailin
CloudMailin allows you to receive any volume of incoming email via a Webhook. You are given an email address that will forward any incoming message to your app, as an HTTP POST, within milliseconds. You can also seamlessly check the delivery status of each of your incoming emails via the dashboard, bounce emails that you do not wish to receive and use your own domain name.
Setting up the Destination
In this guide we're going to cover the basics of receiving your first email with CloudMailin. The first step is to head to https://www.cloudmailin.com and signup.
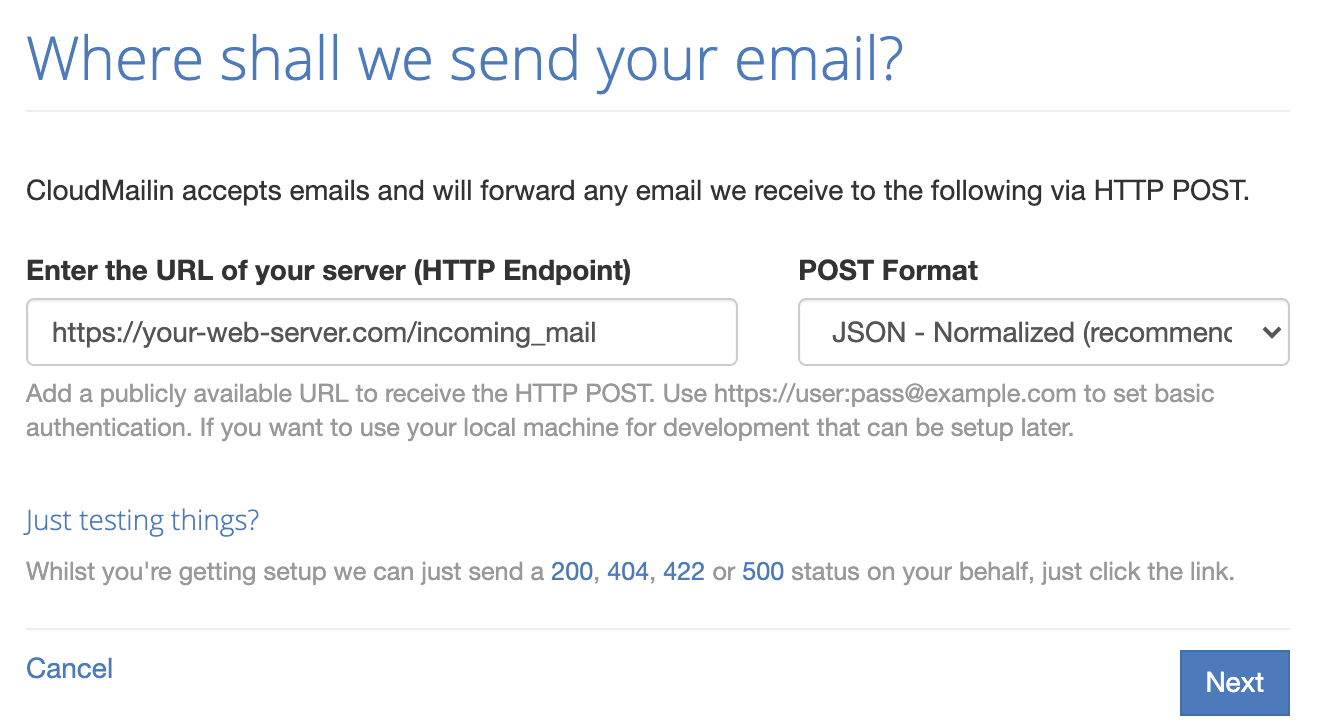
As soon as you sign up, you will be presented with the option to create your first CloudMailin address. Here you can enter the URL that CloudMailin should send your email to. We call this url the target or destination. CloudMailin will use an HTTP POST to deliver all of your email to this URL. This target URL must be a URL that CloudMailin can access over the public internet, don't worry though, it supports HTTPS and you can pass basic authentication to keep things secure. If you're developing locally you can also see our Local Development and Testing Guide once you're done here.
Receiving the First Email
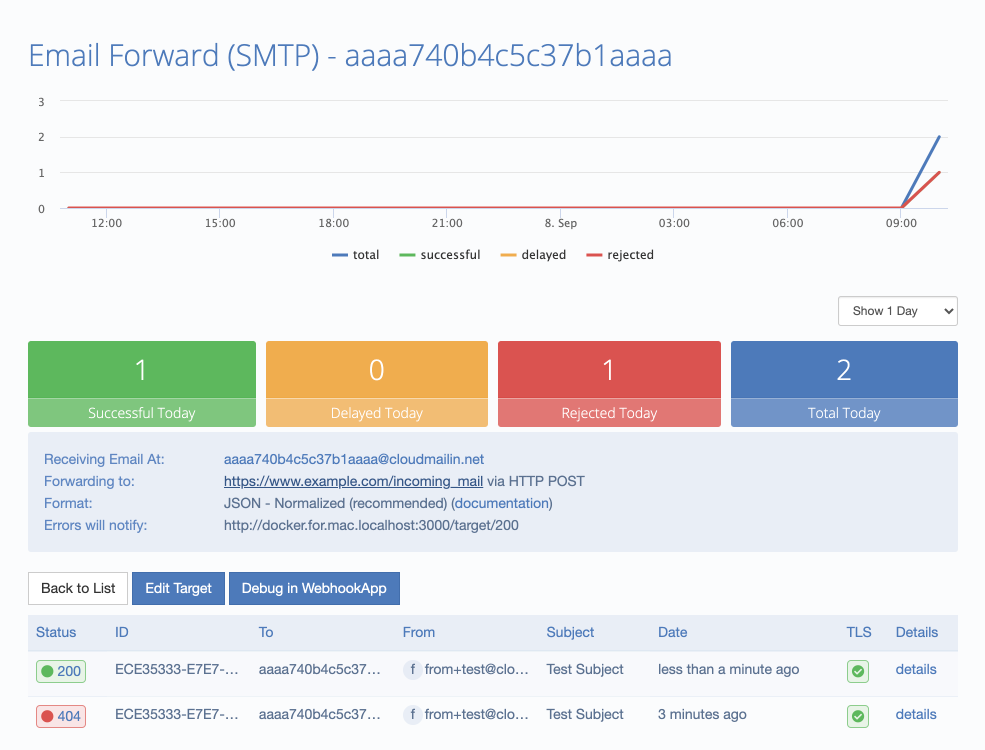
After you click submit, an email address will be generated for you and you are ready to start sending you email. Click the manage this address button to view the details for this address. Here you can manage all aspects of the address but for now we're mainly interested in the email address we've been allocated and the message history (also known as delivery statuses).
Let's go ahead an send an email to our new CloudMailin address. Let's go ahead and click the 'Send a message now' link and send an email to your site. Within a couple of seconds we should be able to see the message within the message history. If the delivery status shows 404 this means that your website hasn't been setup to receive the emails yet and is throwing a standard 404 - Not Found error. This is perfectly normal, CloudMailin intelligently uses your HTTP status codes to determine what to do with the message (more details can be found at HTTP Status Codes).
If we click on the details tab more information about this message should be available, if the message was unsuccessful this page will also show the http response given by your website to help you debug.
Now we need to write the code for the website to receive the email. For this demo it will we can just to make the destination URL return a status code of 200. Once you've written some code and your website response with a 200 status (or any 2xx status code) the delivery status will be green and this is considered a successful message. CloudMailin won't bounce this or try to send it again as your app has indicated that everything went well.
Next Steps
- Using your own domain. - Learn more about using your own domain or forwarding emails.
- POST Format - See more details about the format that CloudMailin will send your HTTP POST in.
- Examples - Jump straight to some examples.