Sending Email with .Net (C#)
.Net has built in support for sending mail with the System.Net.Mail namespace. Although the example below uses C# this applies to each of the .Net framework languages to send email.
The System.Net.Mail requires that you create a MailMessage and then an SmtpClient to sent that
message.
To obtain your SMTP credentials you can create a free outbound account with CloudMailin.
The Mail Message Itself
The MailMessage gives access to a number of properties to create a message:
string to = "debug@example.com";
string from = "csharp@example.com";
MailMessage message = new MailMessage(from, to);
message.Subject = "Using the new SMTP client.";
message.Body = @"Using this new feature, you can send an email message from an application very easily.";
To add HTML you can simply send IsBodyHtml and pass HTML to the body parameter:
string to = "debug@example.com";
string from = "csharp@example.com";
MailMessage message = new MailMessage(from, to);
message.Subject = "Using the new SMTP client.";
message.Body = @"<h1>Send Messages</h1>You can send an <strong>email message</strong>.";
message.IsHtml = true;
Adding Attachments
Attachments can be added to the mail message using Attachments.Add:
var attachment = new Attachment("attachment.jpg", MediaTypeNames.Image.Jpeg);
message.Attachments.Add(attachment);
Setting the correct SMTP parameters
Here we'll set the required parameters to send our MailMesage using SmtpClient.
SmtpClient client = new SmtpClient("HOSTNAME");
client.Port = 587;
client.UseDefaultCredentials = false;
client.EnableSsl = true;
client.Credentials = new System.Net.NetworkCredential("USERNAME", "PASSWORD")
The default system of authentication in .Net is a little picky as the SmtpClient documentation
states if the mail server requires authentication (which we do), then you must set
UseDefaultCredentials property is set to false.
client.UseDefaultCredentials = false;
In addition it's important to note that the .Net framework's SMTP Client will perform STARTTLS on
a connection if EnableSsl is set to true (an alternate system of using SSL by default on port
465 is not supported by .Net).
client.EnableSsl = true;
Finally once we have our SmtpClient and our MailMessage we can send the message with the
following:
client.Send(message);
A full example
The full example sending an email using the .Net framework in C# is as follows:
using System;
using System.Net.Mail;

public class Program
{
 public static void Main()
 {
  string to = "debug@example.com";
  string from = "csharp@example.com";
  MailMessage message = new MailMessage(from, to);
  message.Subject = "Using the new SMTP client.";
  message.Body = @"Using this new feature, you can send an email message from an application very easily.";
  SmtpClient client = new SmtpClient("HOSTNAME");
  client.Port = 587;
  // Credentials are necessary if the server requires the client
  // to authenticate before it will send email on the client's behalf.
  client.UseDefaultCredentials = false;
  client.EnableSsl = true;
  client.Credentials = new System.Net.NetworkCredential("USERNAME", "PASSWORD")
  client.Send(message);
 }
}
Summary
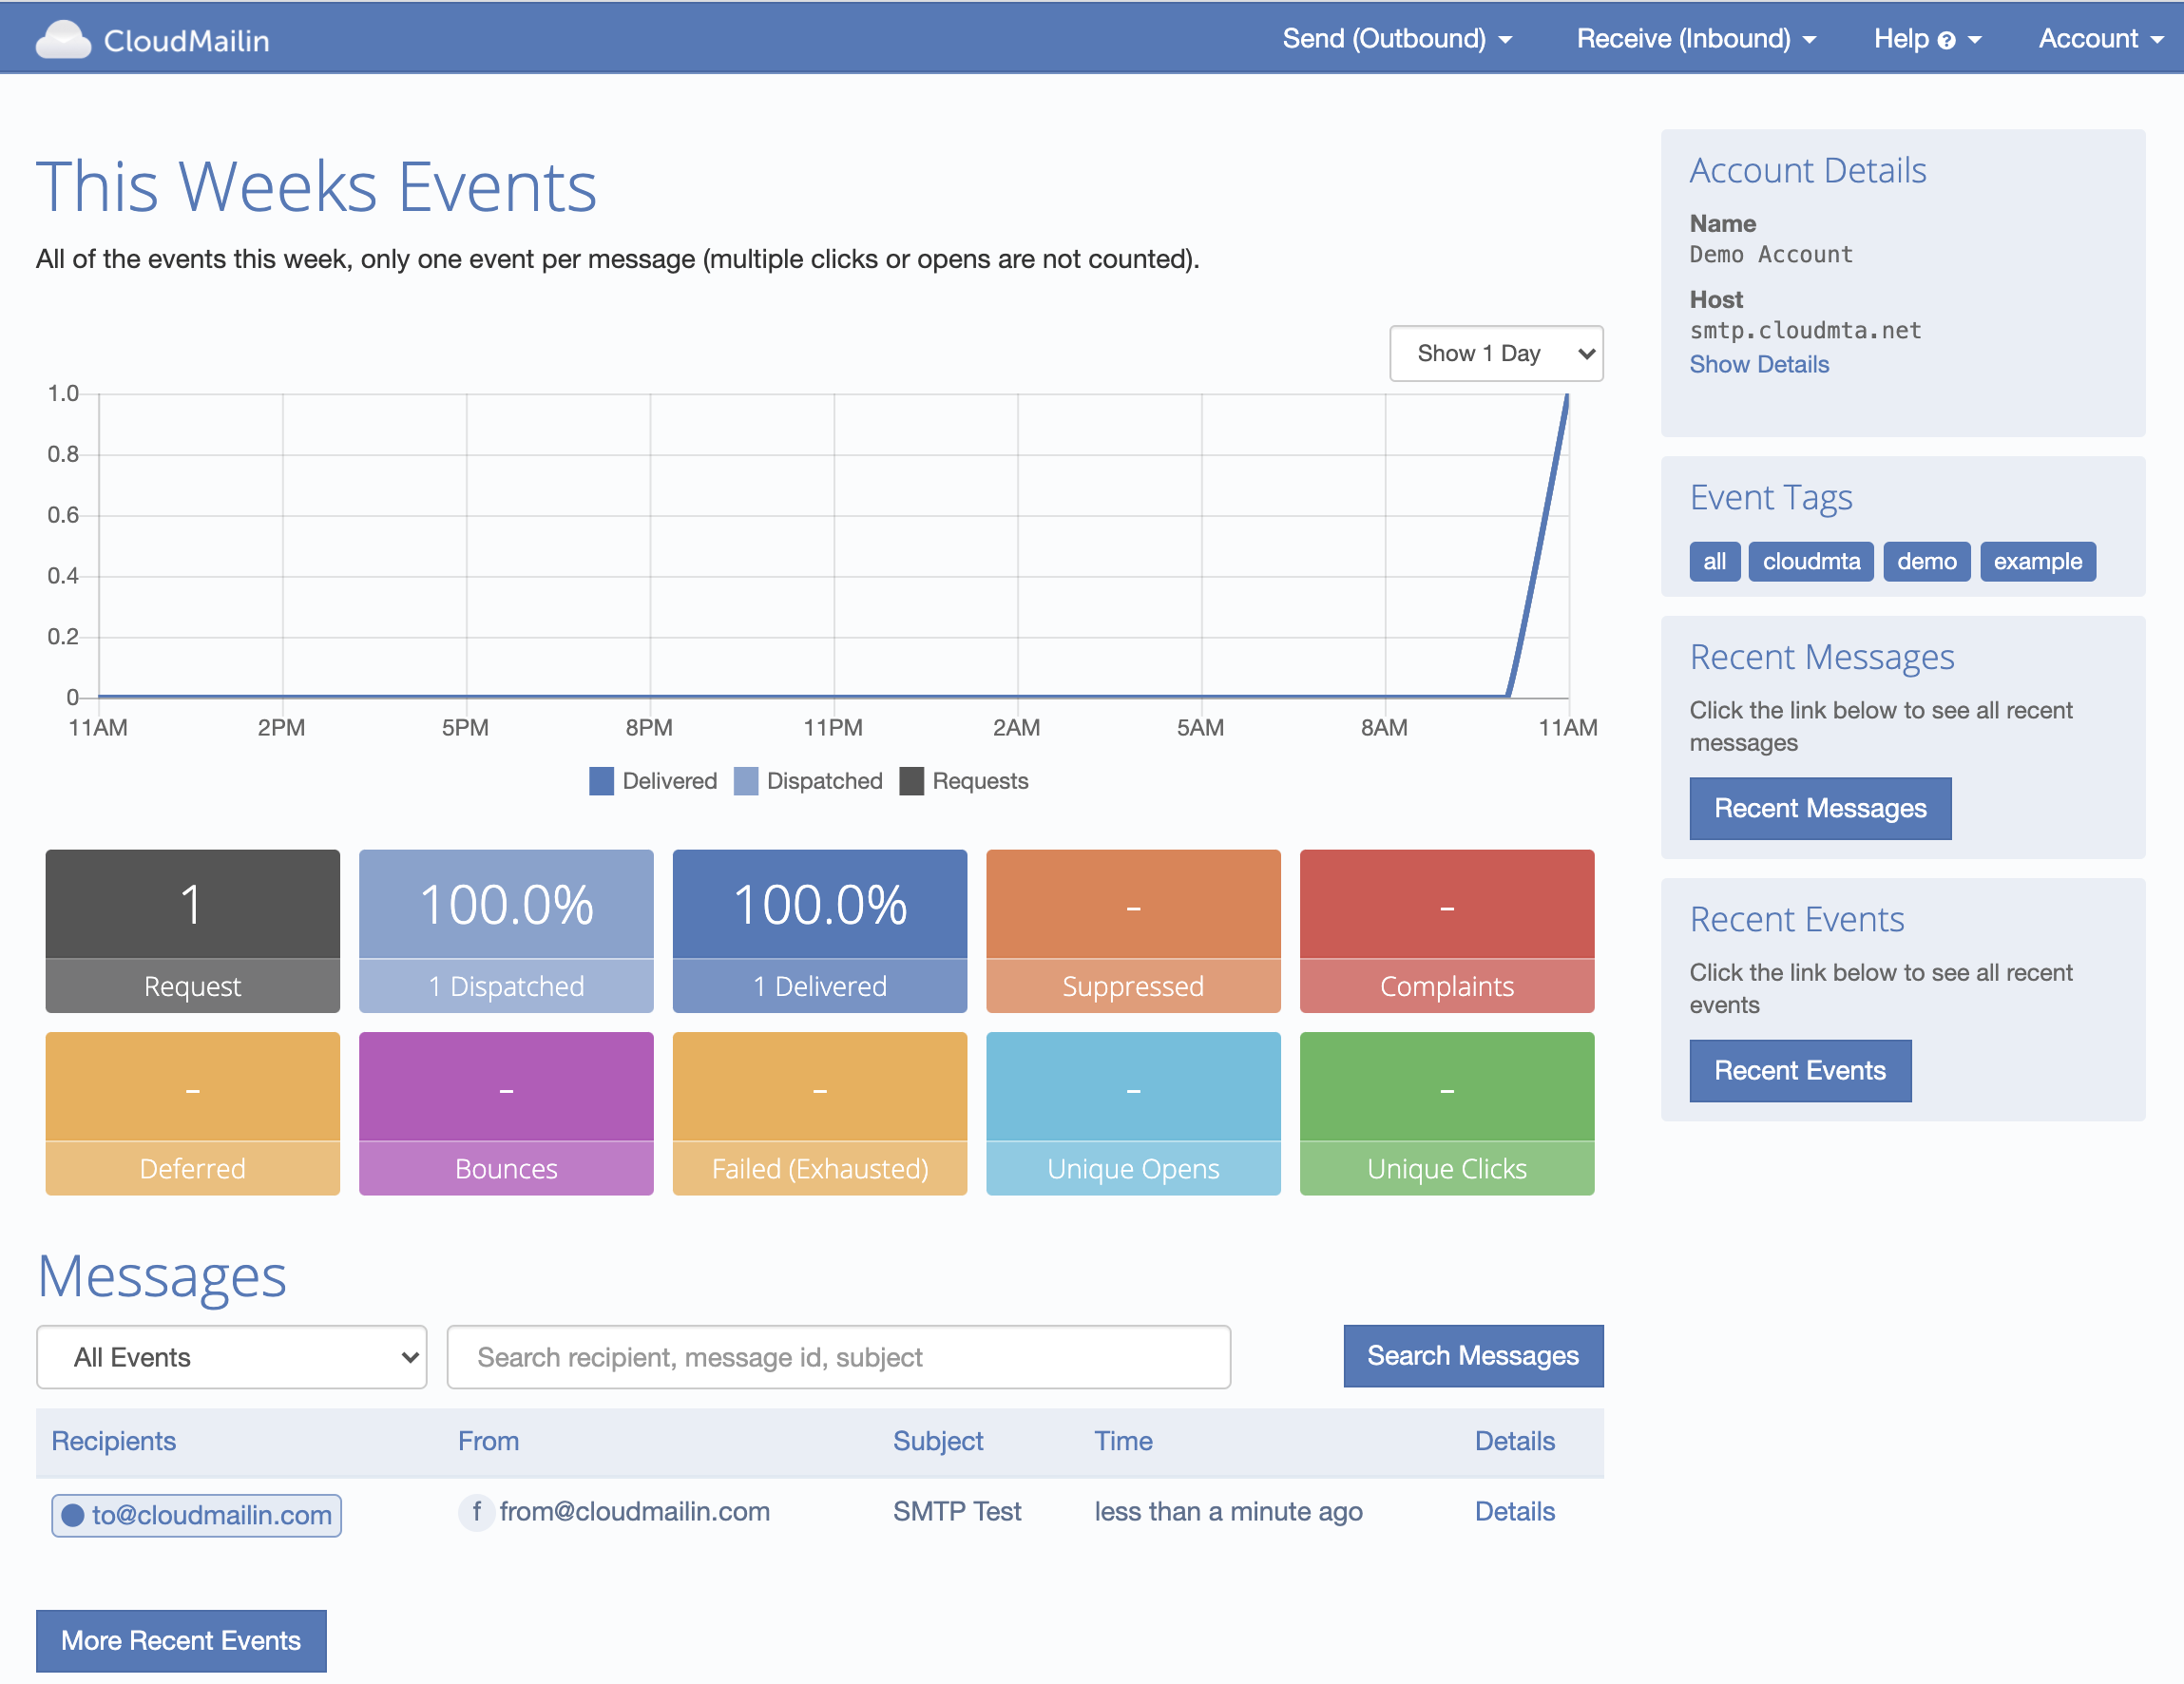
We should now have received a message in our inbox. Using CloudMailin we can also track the status
of each of our emails and see the delivery details. Any tags you've added as a x-cloudmta-tags
header can be used to filter the email messages and search.
If you need any SMTP credentials you can create an account for free and get your SMTP credentials on the outbound account page.
Make sure you changed the from address to match your verified domain and set a recipient
The SMTP transaction will reply with the message-id of the message to use for bounce tracking if required.
250 Thanks! Queued as: f78b876d-dd97-4e10-9a61-067f98044cc7
Of course if there are any questions feel free to contact us and we'll do our best to help you get setup sending email.