Sending Email with Java
Sending email with Java can be done with a number of different libraries. In this example we're going to use Jakarta Mail.
Jakarta Mail used to be known as JavaMail and was included in Java EE however, its home is now
with the Eclipse Jakarta project as Jakarta Mail. If you're using an older version the API
reference has remained the same and you can simply specify javax.mail rather then jakarta.mail
in your dependencies.
To obtain your SMTP credentials you can create a free outbound account with CloudMailin.
Setting up Jakarta Mail using Maven
We're using Maven here to setup Jakarta Mail by adding version 1.6.5 to our dependencies section:
  <dependencies>
    <dependency>
      <groupId>com.sun.mail</groupId>
      <artifactId>jakarta.mail</artifactId>
      <version>1.6.5</version>
    </dependency>
  </dependencies>
With Jakarta Mail added to our project we're going to import the peices we need. As mentioned above
the API reference has remained the same so we'll import javax.mail and javax.mail.internet:
import java.util.*;
import javax.mail.*;
import javax.mail.internet.*;
Setting the SMTP properties for Jakarta Mail
We're then going to set the properties that we'll be passing to the Session in a later step.
First we set the mail.smtp.auth to true. Then we need to enable STARTTLS so that our connection is
encrypted using mail.smtp.starttls.enable.
Finally we set the hostname and port for our SMTP connection and turn on debugging.
  Properties props = new Properties();
  props.put("mail.smtp.auth", "true");
  props.put("mail.smtp.starttls.enable", "true");
  props.put("mail.smtp.host", hostname);
  props.put("mail.smtp.port", "587");
  props.put("mail.debug", "true");
We'll also need a javax.mail.Authenticator to allow our session to pass a username and password
using SMTP LOGIN authentication. The authenticator is capable of a number of different SMTP AUTH
methods such as LOGIN or PLAIN amoung others.
  javax.mail.Authenticator auth = new javax.mail.Authenticator() {
      protected PasswordAuthentication getPasswordAuthentication() {
          return new PasswordAuthentication(username, password);
      }
  };

  Session session = Session.getInstance(props, auth);
Creating a Java MimeMessage for our Email Content
Now all that's left is to create a MimeMessage. The message takes the session details that will be used for sending at the end.
Each address we pass is an instance of InternetAddress which takes a string parameter. It's also
important to remember that the TO address of an email is actually sent as the RCPT command and the
RCPT command accepts an array of email addresses.
With our message body and subject set all that's left is to set the priority of the message
(see Setting SMTP queue priority and Tagging) and to send or email.
  try {
      MimeMessage msg = new MimeMessage(session);
      msg.setFrom(new InternetAddress("from@example.com"));
      InternetAddress[] address = {new InternetAddress("to@example.com")};
      msg.setRecipients(Message.RecipientType.TO, address);
      msg.setSubject("Jakarta Mail APIs Test");
      msg.addHeader("x-cloudmta-class", "standard");
      msg.addHeader("x-cloudmta-tags", "demo, example");
      msg.setText("Test Message Content");

      Transport.send(msg);

      System.out.println("Message Sent.");
  } catch (javax.mail.MessagingException ex) {
      throw new RuntimeException(ex);
  }
TLDR; The full example
Here's our full example of sending an email over SMTP with Java and Jakarta Mail (JavaMail):
package com.cloudmailin.docs;

import java.util.*;
import javax.mail.*;
import javax.mail.internet.*;

public class App
{
    public static void main( String[] args )
    {
        String hostname = "hostname from account";
        final String username = "username from account";
        final String password = "password from account";

        Properties props = new Properties();
        props.put("mail.smtp.auth", "true");
        props.put("mail.smtp.starttls.enable", "true");
        props.put("mail.smtp.host", hostname);
        props.put("mail.smtp.port", "587");
        props.put("mail.debug", "true");

        javax.mail.Authenticator auth = new javax.mail.Authenticator() {
            protected PasswordAuthentication getPasswordAuthentication() {
               return new PasswordAuthentication(username, password);
            }
        };

        Session session = Session.getInstance(props, auth);

        try {
            MimeMessage msg = new MimeMessage(session);
            msg.setFrom(new InternetAddress("from@example.com"));
            InternetAddress[] address = {new InternetAddress("to@example.com")};
            msg.setRecipients(Message.RecipientType.TO, address);
            msg.setSubject("Jakarta Mail APIs Test");
            msg.addHeader("x-cloudmta-class", "standard");
            msg.addHeader("x-cloudmta-tags", "demo, example");
            msg.setText("Test Message Content");

            Transport.send(msg);

            System.out.println("Message Sent.");
        } catch (javax.mail.MessagingException ex) {
            throw new RuntimeException(ex);
        }
    }
}
Summary
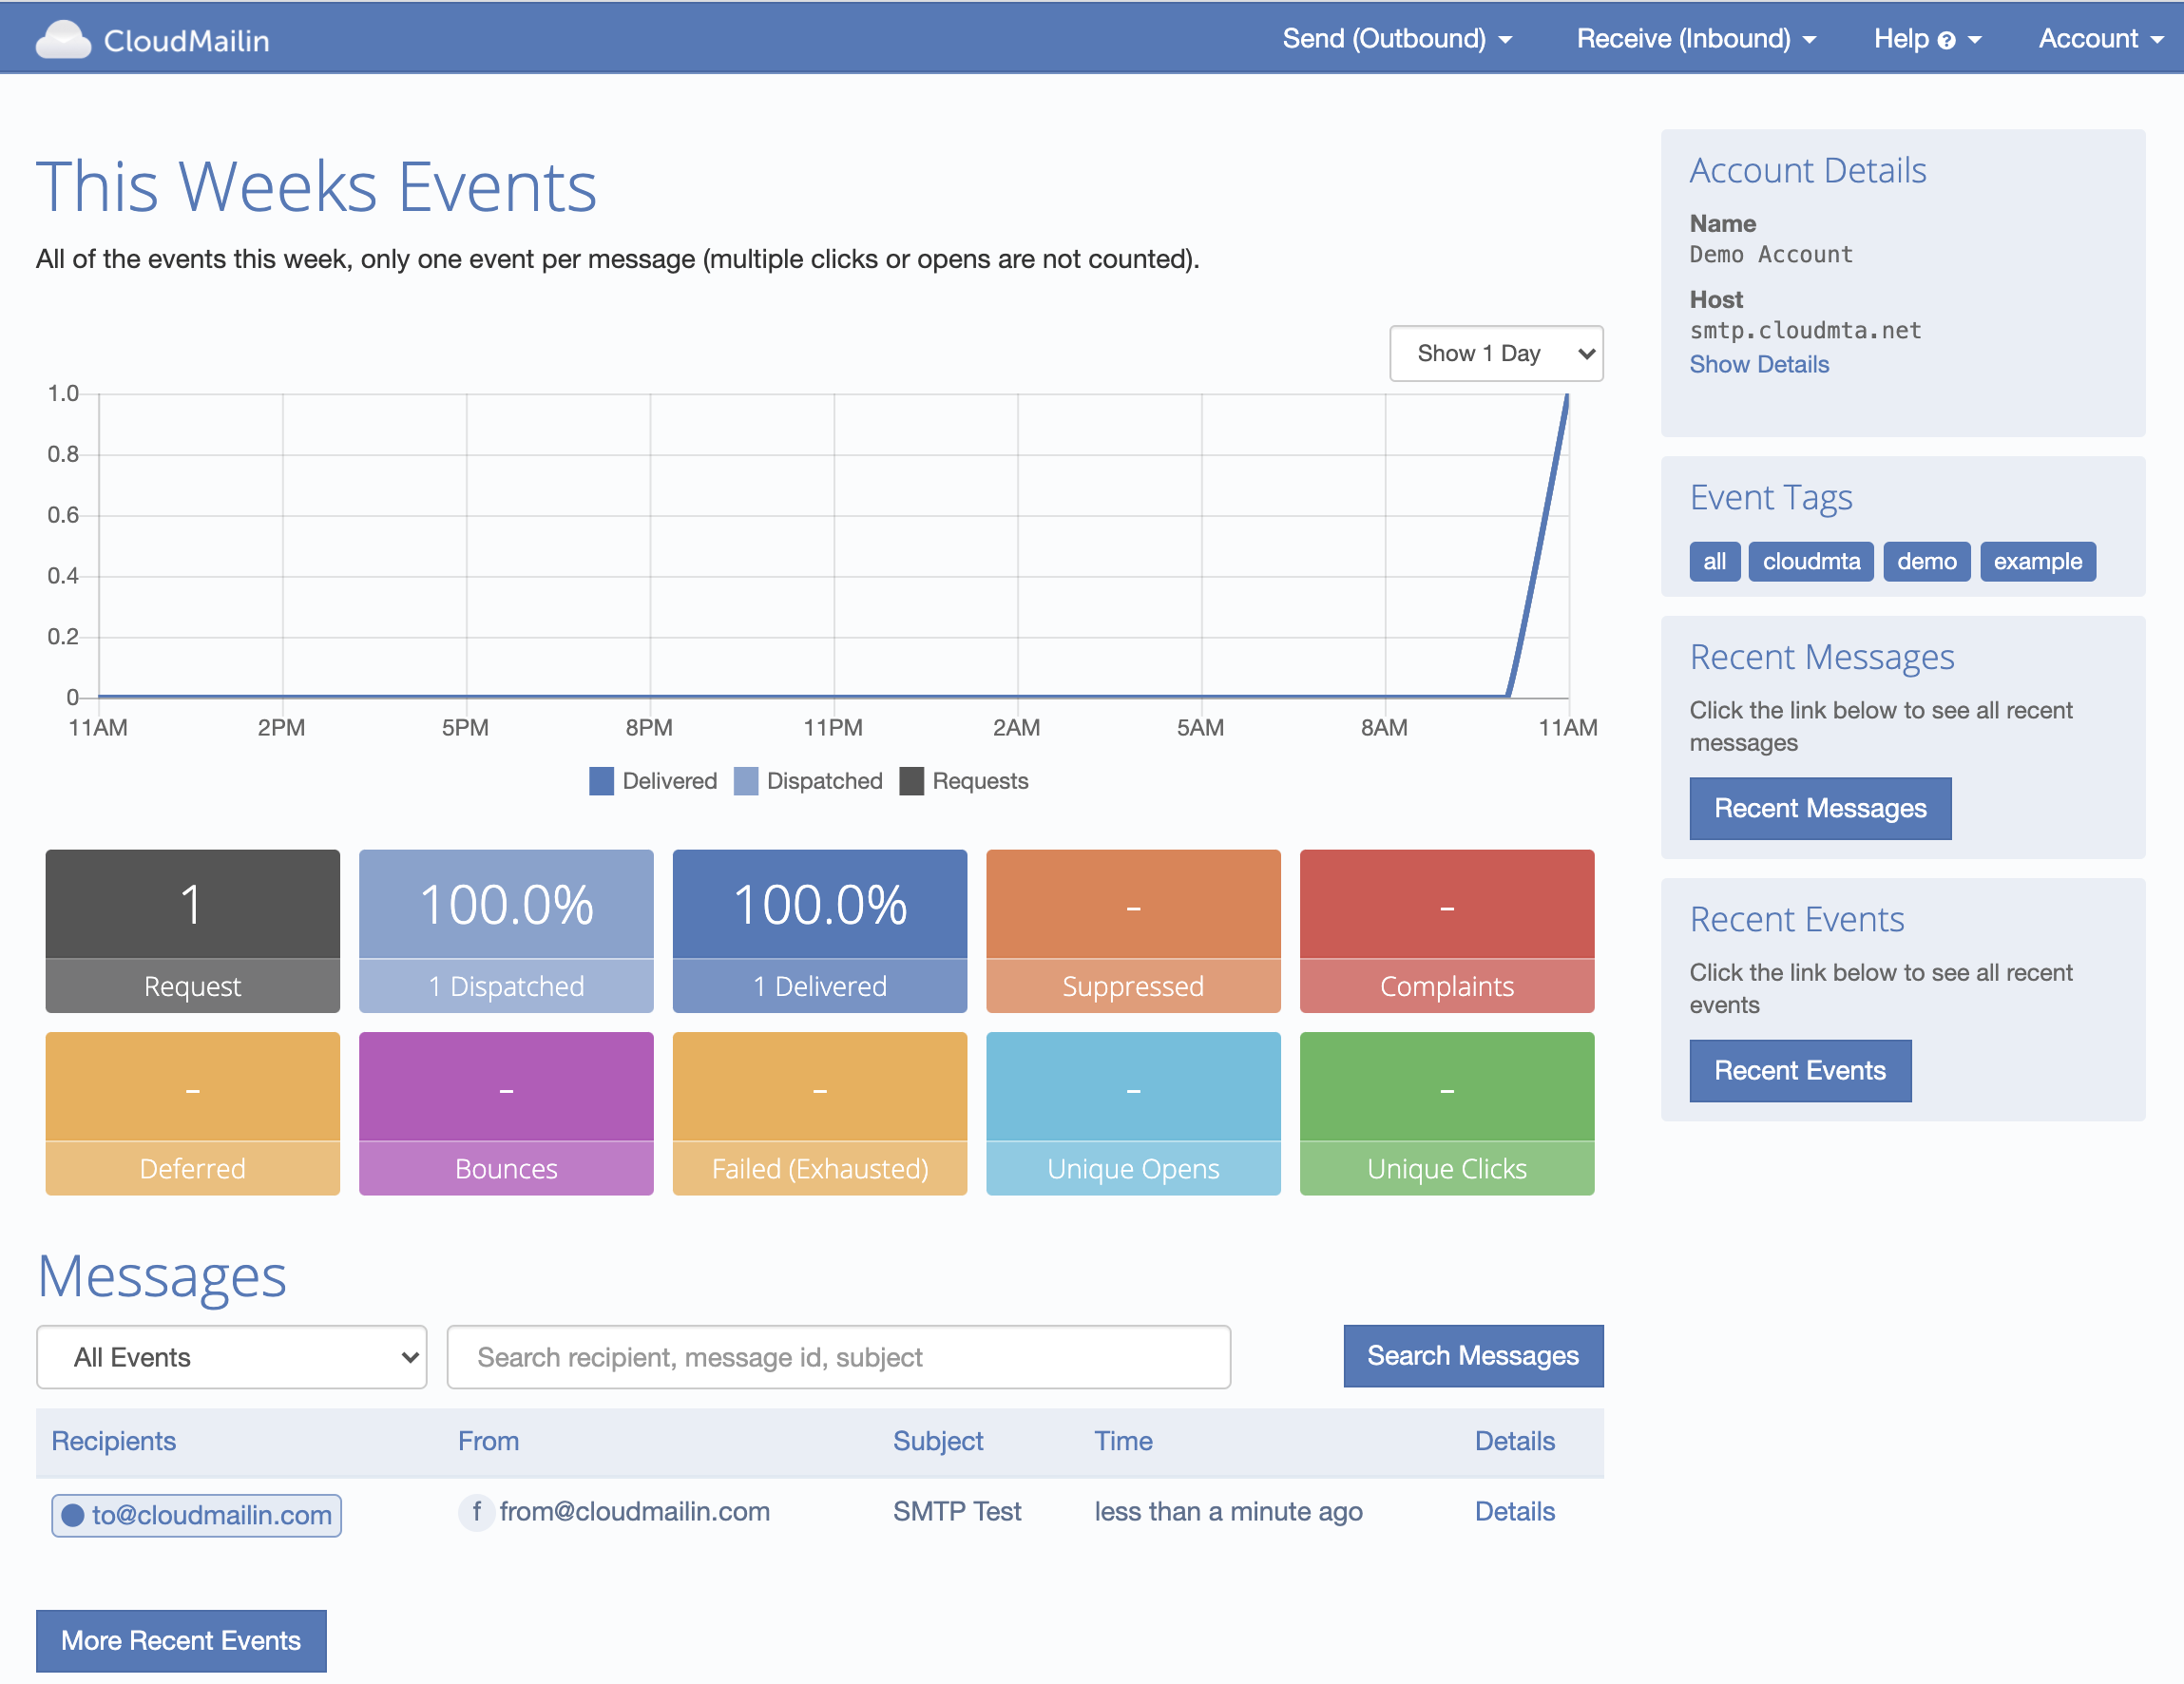
We should now have received a message in our inbox. Using CloudMailin we can also track the status
of each of our emails and see the delivery details. Any tags you've added as a x-cloudmta-tags
header can be used to filter the email messages and search.
If you need any SMTP credentials you can create an account for free and get your SMTP credentials on the outbound account page.
Make sure you changed the from address to match your verified domain and set a recipient
The SMTP transaction will reply with the message-id of the message to use for bounce tracking if required.
250 Thanks! Queued as: f78b876d-dd97-4e10-9a61-067f98044cc7
Of course if there are any questions feel free to contact us and we'll do our best to help you get setup sending email.