Sending Email with PHP
To obtain your SMTP credentials you can create a free outbound account with CloudMailin.
Sending mail with PHP
The default PHP mail function doesn't actually have SMTP support for sending email. While it will allow sending to a local system it expects a different local configuration to perform the SMTP relay. However, it's actually very simple to use a third-party solution to send email over SMTP with PHP.
A few poplular libraries are PHPMailer, Pear Mail or SwiftMailer. Here we'll cover sending an email with SwiftMailer.
Using SwiftMailer in PHP to send Email
In this example we'll use composer to install SwiftMailer:
composer require "swiftmailer/swiftmailer:^6.0"
composer install
With SwiftMailer installed we'll include SwiftMailer in our PHP app and then create an SMTP transport to send our mail.
<?php
require('vendor/autoload.php');

$hostname = 'hostname from account';
$username = 'username from account';
$password = 'password from account';

$transport = (new Swift_SmtpTransport($hostname, 587, 'tls'))
  ->setUsername($username)
  ->setPassword($password);

$mailer = new Swift_Mailer($transport);
When the transport is created we'll need to set 'tls' so that the connection calls STARTTLS and
establishes a TLS encrypted connection before we perform authentication. Then we'll set the username
and password so that the AUTH command is called to authenticate the SMTP session.
Creating an sending the email
Now we have a transport we can create and send the mail message:
$message = (new Swift_Message())
  ->setSubject('Hello from PHP SwiftMailer')
  ->setFrom(['from@example.com'])
  ->setTo(['to@example.com' => 'User Name']);

$headers = ($message->getHeaders())
  -> addTextHeader('X-CloudMTA-Class', 'standard');

$message->setBody(
  '<body>'.
  '<h1>hello from php</h1>'.
  '</body>'
);
$message->addPart('hello from PHP', 'text/plain');
$mailer->send($message);
Any additional headers can be set using addTextHeader to the headers of the email message.
You'll notice here we're setting the additional X-CloudMTA-Class header.
More details around this can be found in the Setting SMTP queue priority and Tagging
documentation.
Sending mail with Laravel
Laravel creates a config/mail.php file with the settings used to create emails over SMTP.
All of these settings can be modified by settings your .env file. Since Laravel inherits it's
mailer from SwiftMailer we can use similar settings to above in our ENV to set this.
// .env
MAIL_MAILER=smtp
MAIL_HOST=host from account
MAIL_USERNAME=username from account
MAIL_PASSWORD=password from account
MAIL_PORT=587
MAIL_ENCRYPTION=tls
In addition we also recommend creating a default from address in the config you can use something
like the following for this:
// config/mail.php
'from' => ['address' => 'example@example.com', 'name' => 'App Name'],
For more information about actually creating your email in Laravel take a look at the make:mail command.
Queueing a message can then be done using something like the following:
Mail::to($request->user())
    ->cc($moreUsers)
    ->bcc($evenMoreUsers)
    ->queue(new OrderShipped($order));
There are lots of options to use Queues and to delay sending email messages in laravel. Take a look at the Queueing Mail documentation for more information.
Summary
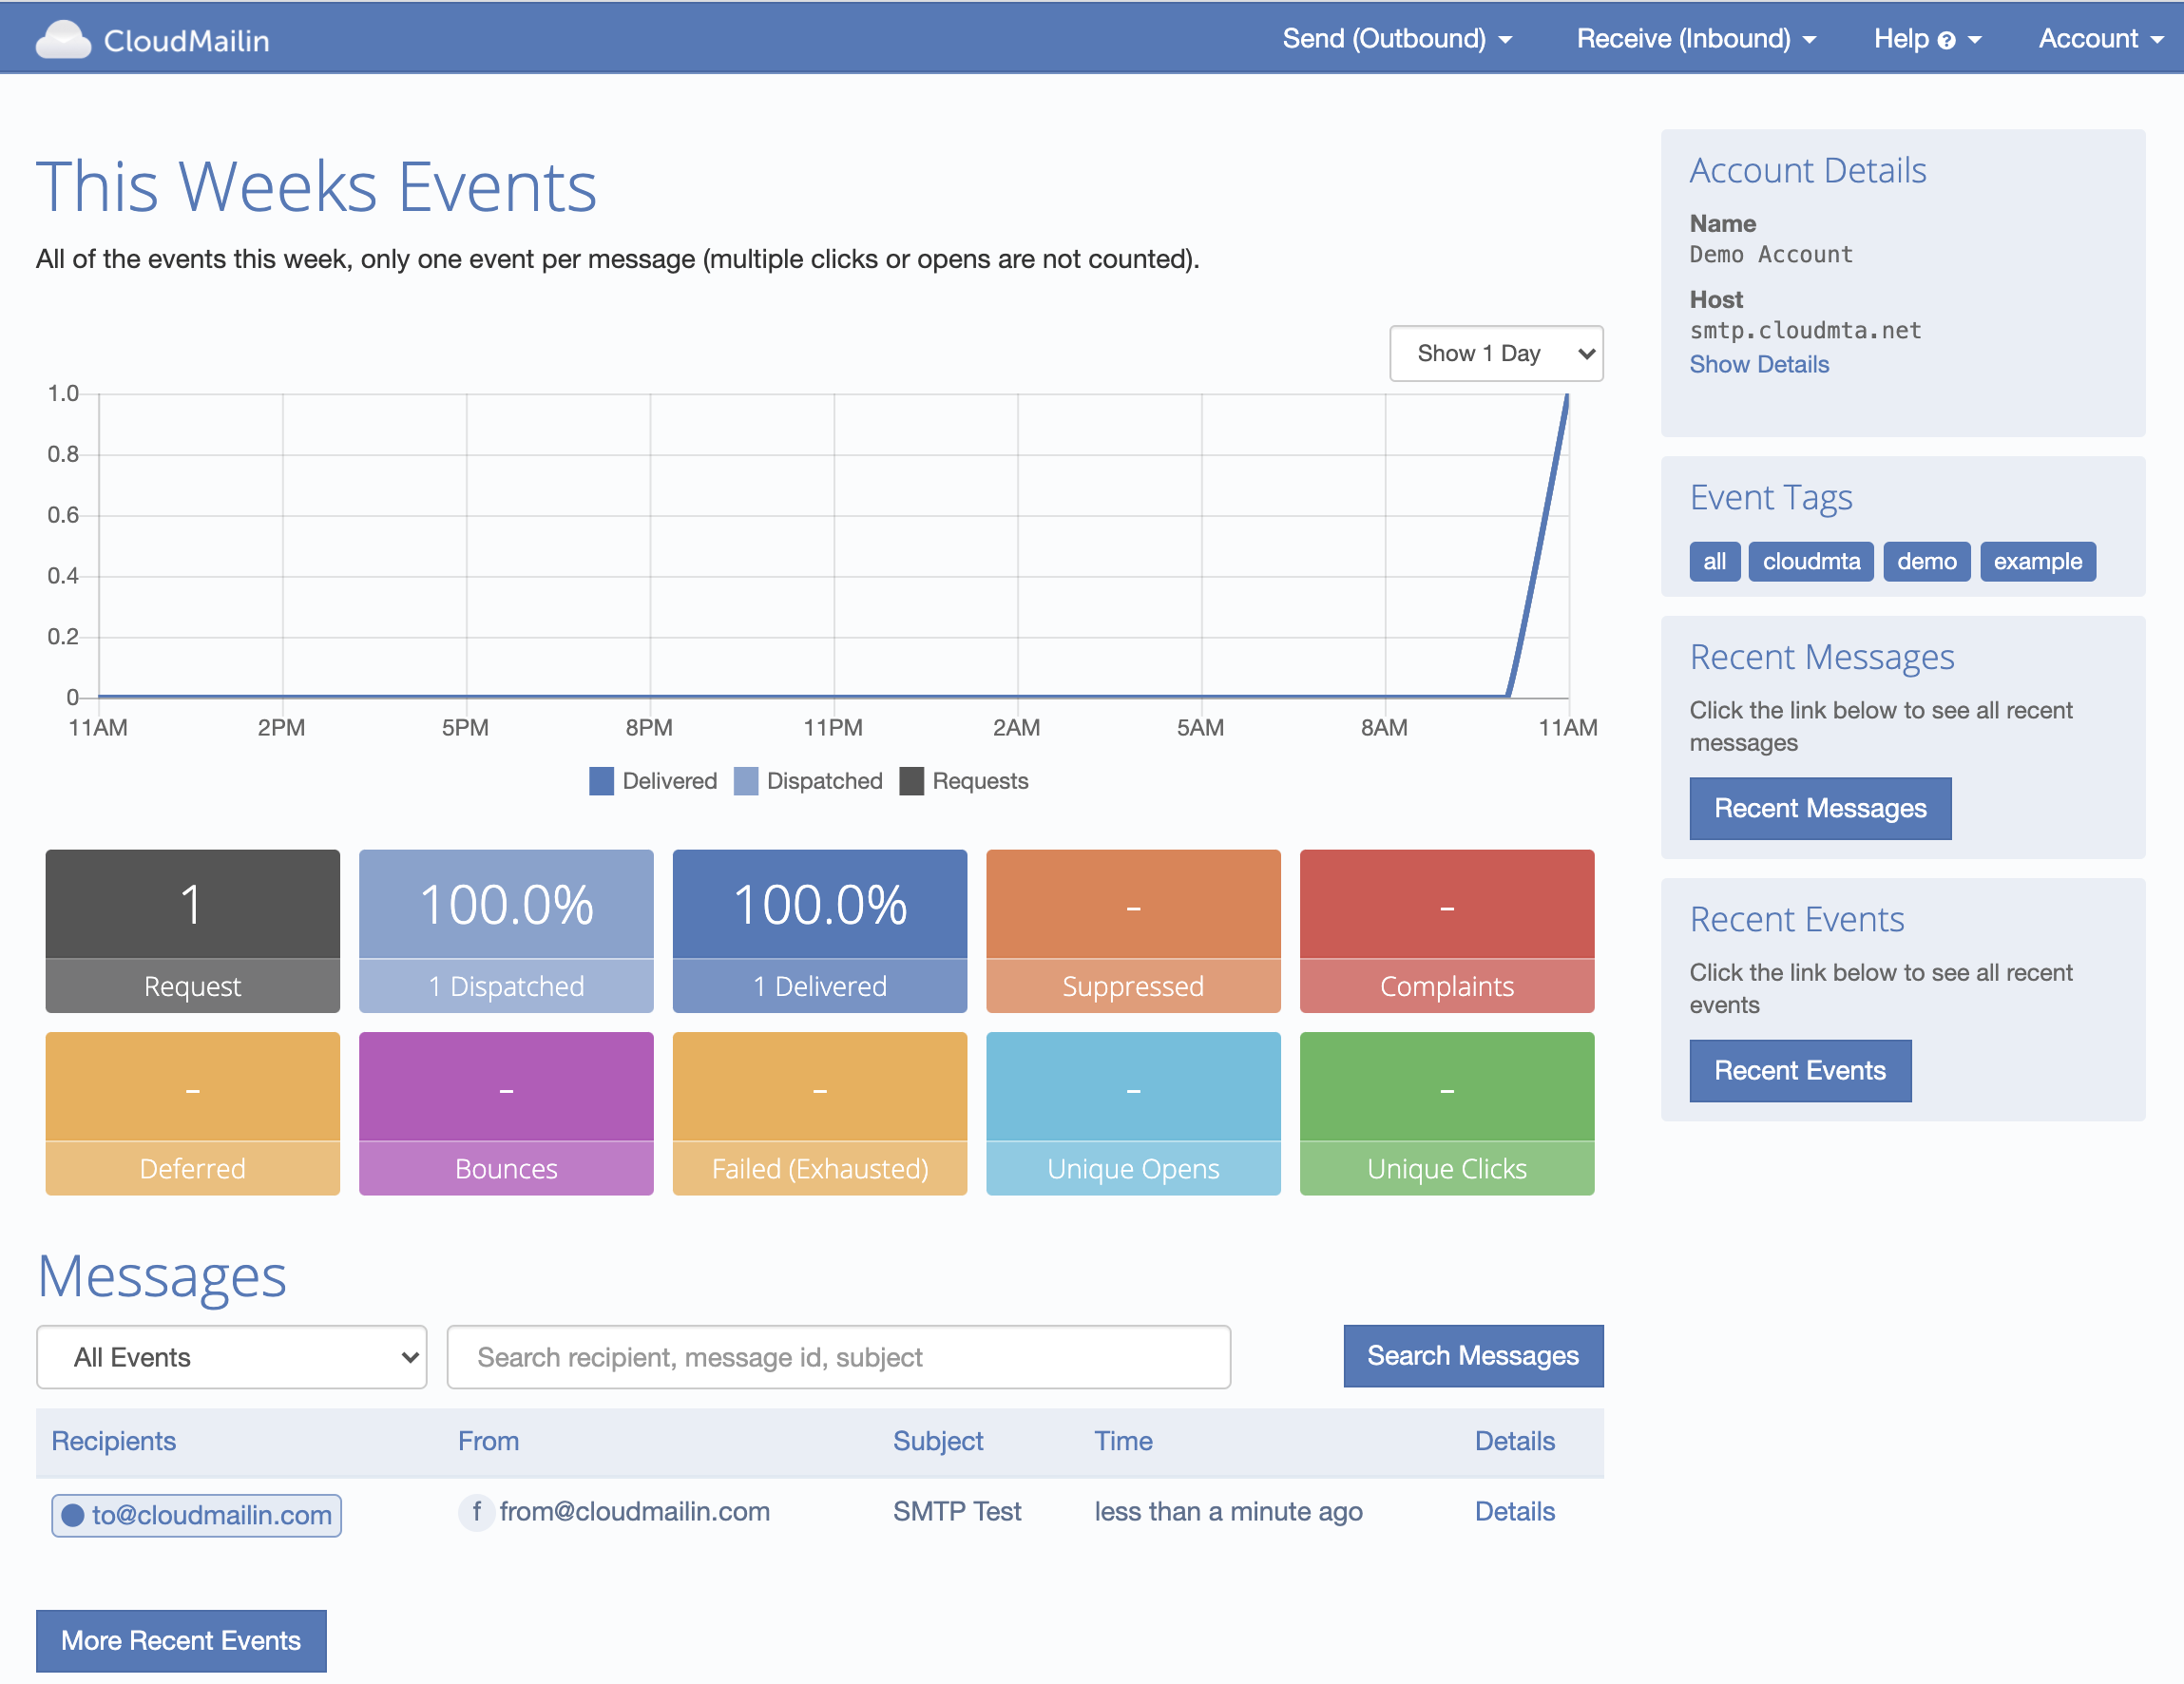
We should now have received a message in our inbox. Using CloudMailin we can also track the status
of each of our emails and see the delivery details. Any tags you've added as a x-cloudmta-tags
header can be used to filter the email messages and search.
If you need any SMTP credentials you can create an account for free and get your SMTP credentials on the outbound account page.
Make sure you changed the from address to match your verified domain and set a recipient
The SMTP transaction will reply with the message-id of the message to use for bounce tracking if required.
250 Thanks! Queued as: f78b876d-dd97-4e10-9a61-067f98044cc7
Of course if there are any questions feel free to contact us and we'll do our best to help you get setup sending email.